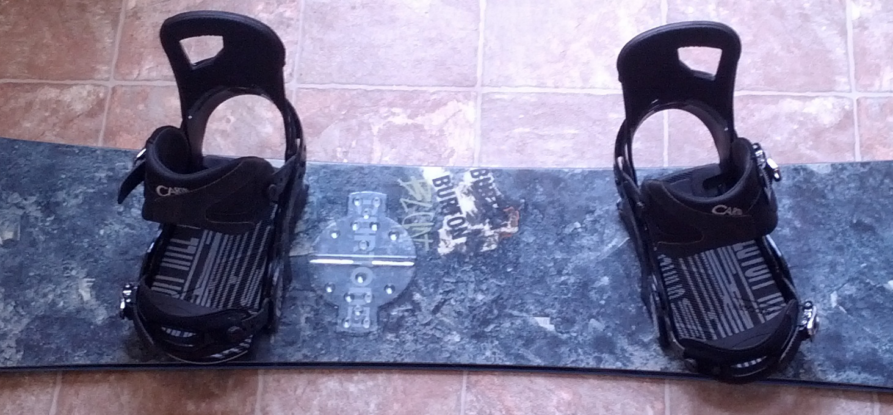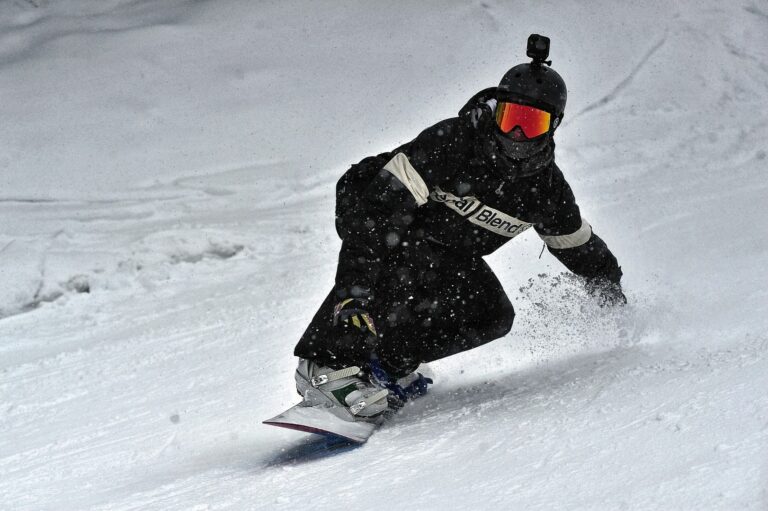
A snowboard binding is THE piece of equipment that connects your feet to your snowboard. Adjusting your bindings will change how your board turns, performs and flexes. It can also change your body position, edge engagement, and even your riding style.
Snowboard bindings come in all shapes and sizes and have more adjustments than most people realize. This guide aims to provide the important information you need to make the right choice when choosing a snowboard binding to buy. We’ll also walk you through how to set up and adjust your bindings with your riding style in mind.
Choosing the Right Snowboard Bindings
With so much choice on the market, it can be daunting to determine the best snowboard binding for you. Let’s go over a few things to consider that will help you choose the right binding.
Ability Level
Whether you’re a seasoned rider or it’s your first season on a snowboard, your binding needs will be different. Snowboard bindings are rated by stiffness, usually from 1-10. This will change how responsive or forgiving your bindings will be.
Softer bindings are better suited for new riders and park riders. Softer bindings allow more movement which is great for beginners. Stiffer bindings are regularly sought after for advanced riders who need responsiveness and support at higher speeds. If you want the best of both worlds, opt for a binding with a medium stiffness that allows some freedom of movement without compromising responsiveness.
Riding Style
Plan to lap the park from bell to bell? You’ll want a pair of softer bindings that allow the flexibility you need for rails and jibs. Does your day revolve around steep chutes, drops and charging the mountain at Mach 1? Stiff bindings give you the responsive performance you’re looking for. If you are an all around rider, something with medium stiffness is your go to.
Boot Compatibility and Sizing
With snowboard boots coming in different sizes and shape profiles, it’s important to match your boots to the right binding. Snowboard bindings usually come in three sizes. Ensure the size of your boots is within one of these ranges. Some brands can also be a touch narrow or wide. Make sure the heel of the boot fits snugly and the side of the boot is supported by the sides of the binding. It’s advisable to get the smallest binding you can fit into for better performance.
Highbacks
A highback is the vertical piece of the binding that supports your calf and controls your heelside edge. They can be short, tall and soft or stiff. Soft and short are better for beginners and park riders while tall and stiff highbacks improve control and performance at higher speeds.
Baseplates
Baseplates are used to attach snowboard bindings to a snowboard. Baseplates can be soft, stiff, cushioned or rigid. These will not only affect performance but also comfort.
Depending on the type of snowboard you have, there are different mounting setups. 4×4 screws are the industry standard while some brands like Burton use a 2 screw channel system. Most bindings have adapted to both mounting systems but some have not.
Additional Features
Other things to consider when choosing a snowboard binding are more related to the cost of the product. Weight, material type, additional adjustments and improved durability increase with cost. These additional features will depend on your skill level and budget.
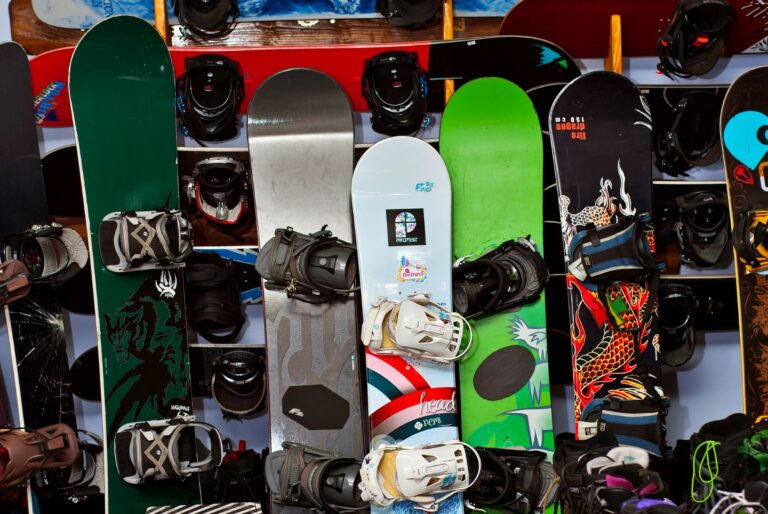
Snowboard Binding Types: Strap-In, Step-In and Rear Entry
There are several types of snowboard bindings on the market, with three of them being vastly more popular than the rest. Each one offers a different experience, and they come with their own pros and cons.
Strap-In
Strap-In bindings use two straps to secure your foot to the binding, one that goes over the top of the ankle and one that goes on or cups the toes. Traditionally, these have been the choice of most riders due to their support, performance and dependability. Today they are still the most popular choice for the majority of riders.
Although they might take 10-20 seconds to do up, the support and performance available by this type of binding has yet to be fully beaten by the other two.
Step-In
Step-In or Step-On snowboard bindings have a hands free system where you place your foot in the binding to secure your foot in place. Original Step-In bindings came out in the 90’s. A great concept at first but they lacked performance and reliability, and became unsafe as they aged. Fast forward to 2018 when Burton reinvented the Step-On binding system.
Step-On Bindings are now seen as a competitive option to Strap-In bindings and can offer better response to traditional bindings. They are much faster to get into, and you don’t have to mess around with straps.
They are however not as supportive, and you don’t get the same board feel as traditional bindings. The system is also very expensive, and because they are on the stiffer side, Step-On bindings are more geared towards advanced riders.
Rear Entry
The final type of bindings on the market are Rear Entry Bindings. This system allows a rider to lower the highback and push their foot through the binding before pulling the highback vertical again. They are faster than Strap-In bindings but that’s really the only pros they have.
They can be fidgety, inconsistently tight and usually require more adjustment to be dialed in for performance. These were initially designed as a solution to create a faster binding system. With Step-On’s re-engineered, this system may not have many years left on the market.
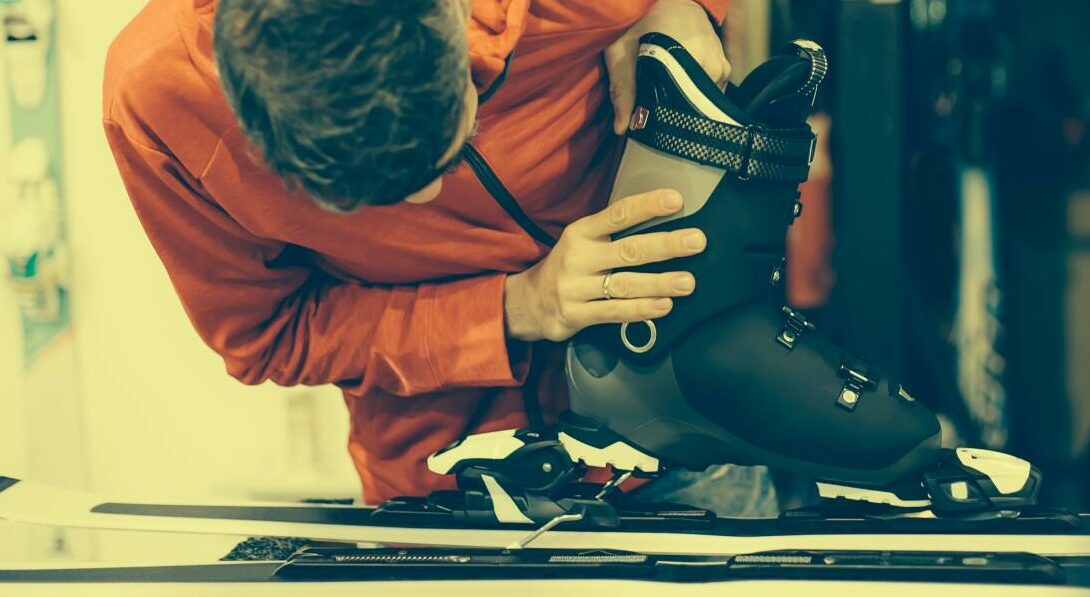
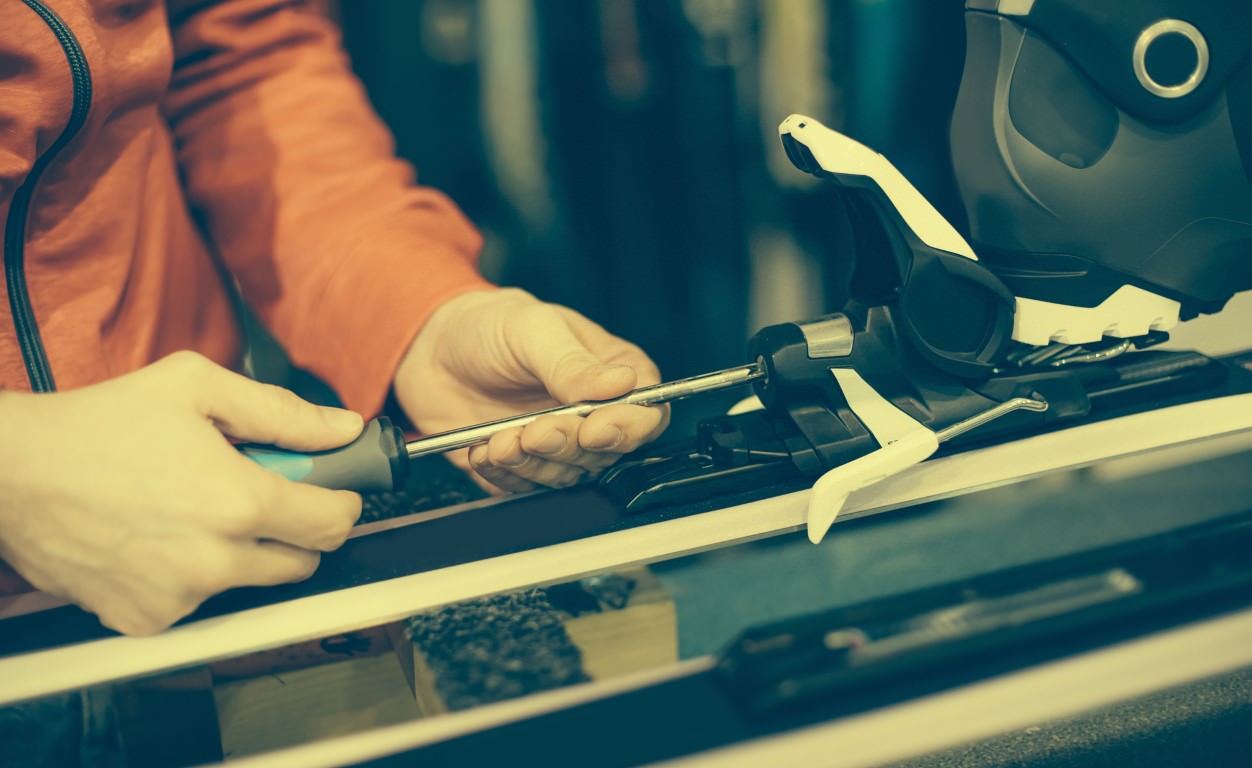
Required Tools for Binding Installation
Installing Snowboard Bindings is extremely easy. All you need is a Phillips or flathead screwdriver. You can work on the floor or from a workbench. Correct installation will ensure your bindings last for as long as possible.
Determining Your Snowboard Stance
There are a number of things to consider when determining the ideal stance for your snowboard. It will alway be a balance of movement and stability.
A narrow stance allows for easy lower body movement. Rotation of the lower body is optimized in this stance allowing for powerful turning and carving performance and speed. The wider your stance, the more stable you will be. This is the desired stance for park and freestyle riders as they need a solid and stable platform when landing.
With this in mind, you might have to play around with the width to figure out what’s an ideal stance for you. A comfortable stance is usually around shoulder width apart. You want to find something that’s comfortable and provides enough movement and stability. Luckily, each board has a reference stance which you can start from and play around with. Stand shoulder width apart and see what would feel comfortable before attaching your bindings to your board.
Setting the Binding Angle
This is one of the most personalized adjustments you can alter on your snowboard. There is a large variability of angles you can choose, and for the most part, it comes down to personal preference and comfort. Binding angles are described as “Positive”, angled towards the nose of the board and “Negative” angled towards the tail. Angles are usually adjusted by three degrees at a time.
By increasing the angle of the front binding, you improve your turning and carving ability as it opens up your hips and allows you to dive easier into turns. The back binding angle usually depends on your riding ability and personal style. Below are some common setups to consider.
Positive / Zero
This stance positions the front binding at +12 to +21 and the rear binding at 0. This stance can be great for beginners because it provides suitable turning ability and a stable rear foot. This stance is a very popular stance for a lot of riders for this reason. Even professional freeriders will choose this.
Positive / Negative (Duck Stance)
This stance positions the front binding at +12 to +21 and the rear binding at -3 to -15. Freestyle and park riders who ride switched benefit from this stance. It also is the most natural stance for your feet as most people stand within this range. This stance also provides additional stability when landing jumps.
Positive / Positive (Surf Stance)
This stance positions the front binding at +12 to +21 and the rear binding at +3 to +6. This surf stance is used by racers and people looking for an aggressive feel. Both knees pointing in the same direction allows you to dive into toeside turns faster. This stance does make it more difficult to ride switch and land jumps.
Positioning Bindings Between the Edges
The final stance position to determine is where the binding will sit between the edges. You want it to be as center as possible with respect to your boot. A centered binding doesn’t necessarily mean your foot will be centered.
You do this by changing where you place the screws in your baseplate and checking how the boot sits between your edges. Completing this step will also ensure you will minimize any heel or toe drag.
Mounting Bindings: A Step-by-Step Guide
Before mounting your bindings, make sure you have decided exactly how you want your stance to be prior to mounting the bindings. This makes the process a lot faster and prevents damage to your board or screws from mounting multiple times.
- Open your bindings and place the baseplates in the bottom of your binding. Start by unpacking your bindings from their box. The bindings should come with a set of baseplates and screws. The baseplates are what secure the bindings to the snowboard. Align the baseplates with the bottom of each binding, ensuring that the holes on the baseplates match up with the holes on the bindings.
- Set the angles by rotating the baseplate until you hit your desired angles. Before you mount the bindings to your snowboard, you need to decide on the angle of your stance. This is largely personal preference and can depend on your style of riding. Typically, a common stance for beginners is what’s called a “duck stance”, where both feet are angled outwards. Rotate the baseplate until you reach your desired angles. For example, a common duck stance might be 15 degrees on the front foot and -9 degrees on the back foot.
- Position the front binding over the holes of your snowboard and line up the holes with the baseplate. Pick up the binding with the baseplate attached and align it over the holes on the snowboard. Most snowboards have multiple sets of holes so you can adjust your stance width. If you’re having trouble seeing the holes through the binding, you can mark their location on the board with a piece of clear tape or a non-permanent marker before placing the binding down.
- Screw in all four screws into your snowboard but don’t fully tighten them. Once the holes on the baseplate and the board are lined up, insert the screws into the holes. Use a screwdriver to turn the screws clockwise until they’re secure, but be careful not to tighten them all the way just yet. You want to have a bit of wiggle room to make adjustments to the binding position if necessary.
- Repeat Steps 3 and 4 for the rear binding. Next, take your rear binding and repeat the same process. Set your desired angle, position the binding over the holes on the board, and screw in the screws without fully tightening them.
- Stand in your bindings and see how the stance width feels. With your bindings loosely attached to your board, stand on it and step into the bindings as if you were about to go down a slope. Move around a bit and see how the stance width feels. Make sure your feet, knees, and hips are comfortable.
- If everything feels good, recheck your angles and tighten the screws. If you’re comfortable with the position of the bindings and the width of your stance, double-check the angle settings on your bindings. If everything is as it should be, use your screwdriver to fully tighten the screws. Do this in a cross pattern (top left, bottom right, top right, bottom left) to evenly distribute the pressure.
At this point, mounting your bindings is complete. Now you’ll want to adjust the bindings.
Fine-Tuning Your Bindings for Optimal Performance
Some bindings have more adjustability than others depending on how much you pay for them. Here are some common adjustments to make.
Footbed Length
Many snowboard bindings come with adjustable footbeds. You adjust them by pulling them out to match the bottom curve of your boots when in the binding. This allows for more contact of the boot with the binding.
Strap Length
Binding straps are adjustable to suit different sized boots. You should notice a screw or pin you can pull out to change the length of the strap. With the snowboard boot in the binding, ratchet up the straps. Do the straps look centered on the boot? If not, adjust the length until the straps are. This ensures pressure from the straps are distributed evenly.
Highback Rotation
When you change the angle of your bindings, the highback also has that angle. You want your highbacks inline with your board to support your lower leg and improve performance. There is usually a screw on each side of the highback. Loosening these should allow you to rotate the highback inline with the snowboard edge. Do this for both bindings.
Forward Lean
This final adjustment can be done at home or on the slopes. Forward lean adjusts how far forward the high sits naturally. The more forward it is, the more responsive your heelside turn will be. There is usually a clip or plate you can move to adjust this. Some bindings don’t have it though.
This is a popular adjustment for freeriders and people who want increased performance when turning or carving, especially on steep terrain. Park riders should not do this because it will change their body position and limit lower leg movement.
Regular Binding Maintenance and Checks
Before every ride, it is smart to give your binding a quick look over. Check the straps for any signs of cracks or cuts. Try to wiggle the bindings to ensure they’re still tight on the snowboard. Every month or so, check all the screws on the binding and baseplate to make sure everything is tight. As snowboard bindings age, they will gradually lose their flex rating and can develop small stress cracks due to use. Looking at your bindings will give you piece of mind that your equipment is looking good and working how it should.
Frequently Asked Questions
Can I mix and match bindings from different snowboard brands?
Just because you CAN do something doesn’t mean you should. Of course, you can install two different bindings to your snowboard, there’s no real point in doing so. Different bindings feel and perform differently, and you want symmetry and consistency when riding.
Can I change my binding setup for different riding styles, snow conditions or terrains?
Absolutely. There are a lot of adjustments you can make depending on the conditions. You can move your bindings slightly back towards the tail of your board on powder days to generate more lift. You can adjust the highback angle to be more aggressive for faster response and carving performance or dial it back for relaxed park riding.
Can I transfer my bindings to a new snowboard without damaging them?
Yes, just unscrew them and mount them on your new snowboard. Sometimes after many mounts and remounts, screws can strip and you’ll have to replace them. Screws are cheap, and it’s advisable to have a few spares laying around at home.
Conclusion
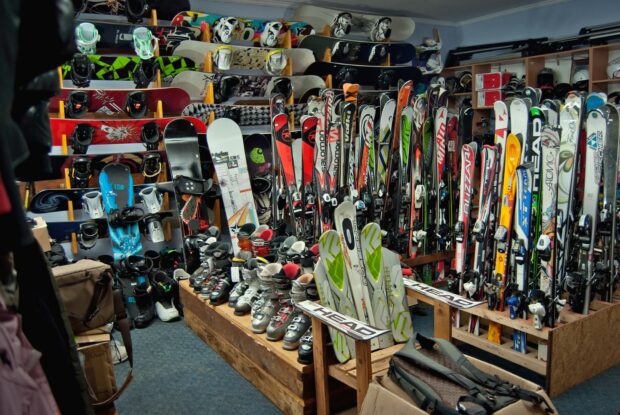
Snowboard bindings are an extremely important and customizable piece of equipment that can drastically affect your performance depending on how you set them up. If you’re unsure of what bindings to buy, ski resorts often have demo options available.
Although there is a lot that goes into selecting and adjusting your bindings, take it slow, try different options and just have fun. There are no perfect settings. The best settings are the ones that feel good to you.