The Importance of Waxing Your Snowboard
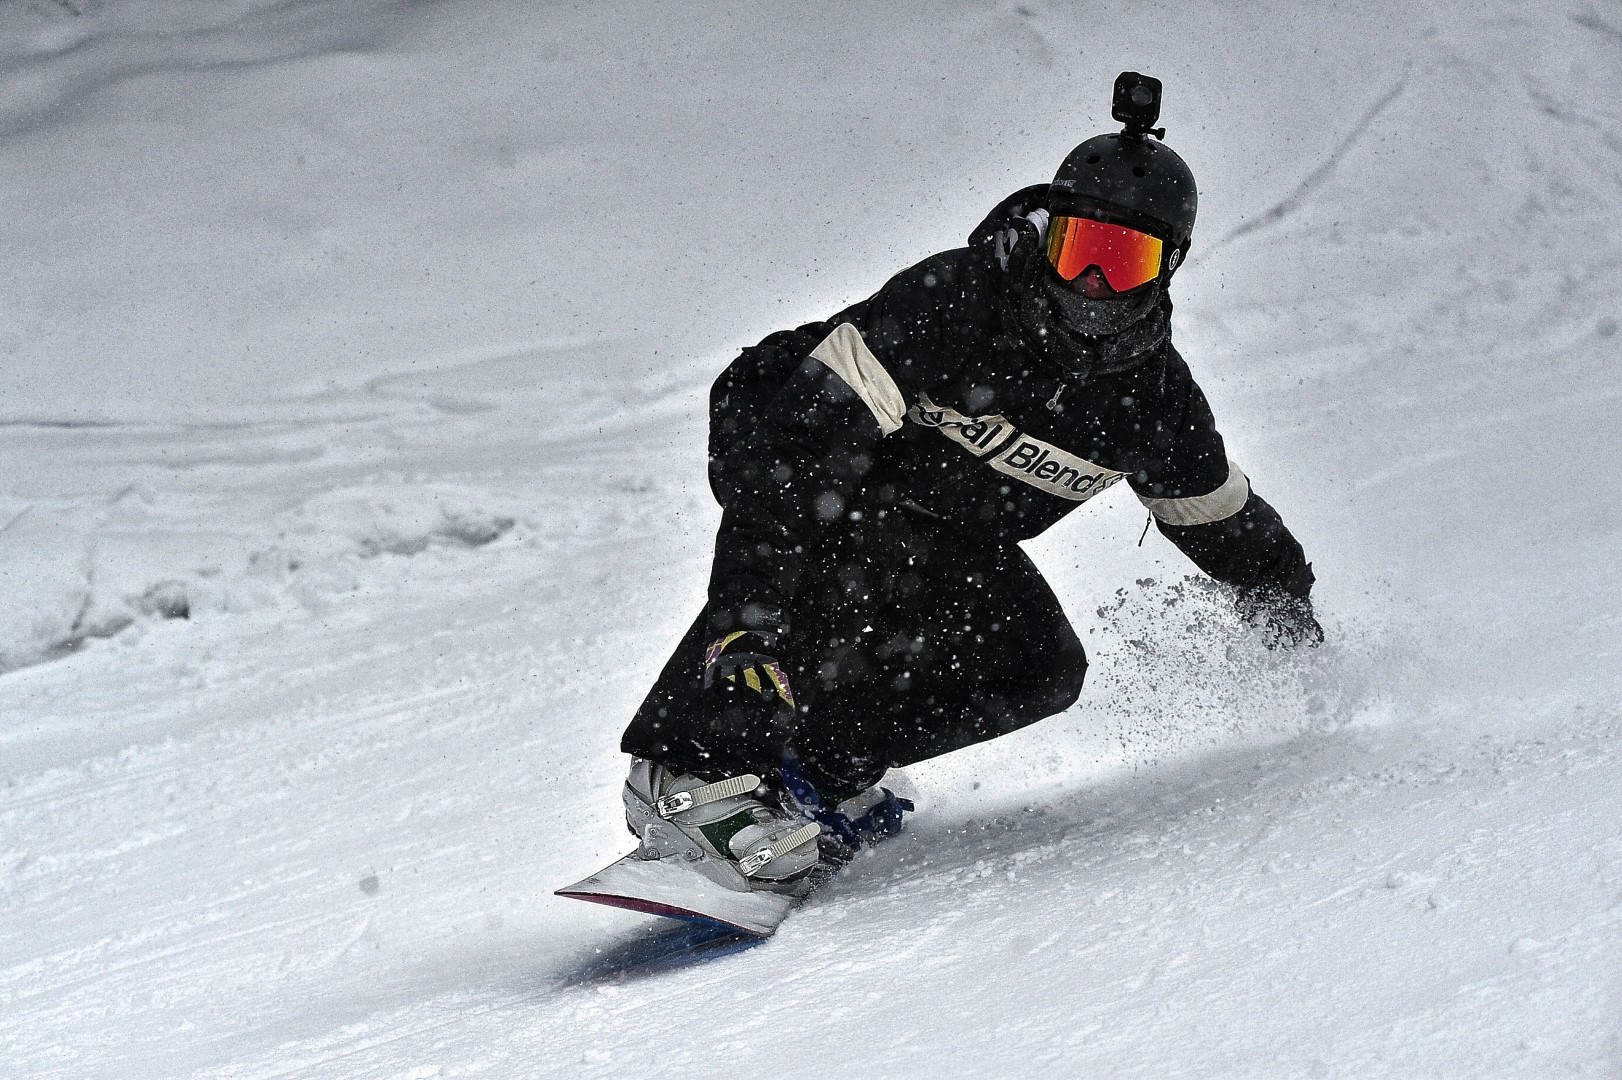
Picture this. You’re riding down a cat-track with your friends on the way to your favorite chairlift. For some reason, your friends keep getting ahead of you, and you can’t seem to keep up. Other riders and skiers are passing you effortlessly, and you don’t understand what’s going on. Someone yells “WAX YOUR BOARD” – and you realize this is something that has completely eluded you.
Can waxing your snowboard actually make a difference in your riding? Absolutely. Not only does it help with gaining extra speed while riding, but it also protects your base from minor scratches and provides you with predictable performance in changing snow conditions.
A snowboard base is like your skin. It has tiny pores that, when not filled with wax, can lead to drying out your snowboard. This can cause huge problems for your equipment down the road. A dry base is more prone to delamination, edge separation and general damage from everyday riding. Not to mention, a snowboard in this state will not last as long as others.
Snow also acts like sandpaper and the drier the snow, the more it will strip wax off your board and start removing base material. What waxing does is places a very thin layer of wax on your base. The porous snowboard acts like a sponge and sucks the wax into the base essentially protecting it at a microscopic scale.
Wax is hydrophobic (water repelling), and snow is frozen water. Wax helps cut down on the friction associated with a snowboard passing over snow. The more you can reduce the friction, the faster you will go. For professional racers, waxes and other hydrophobic additives like powders and metal are used to increase that hydrophobic effect. Although you might not need these extreme measures, waxing your board on a regular basis is an important step in prolonging the life of your snowboard and improving your riding experience.
How Do I Know If I Need to Wax My Snowboard?
There are a few signs to look out for when determining if your snowboard needs wax. There is no such thing as waxing your snowboard too much however, there is such a thing as not waxing enough.
Speed Changes: If you notice other riders are passing you or you feel your snowboard is sticking, especially on the flats, it’s time to wax.
White Base, Especially Near the Edges: If you notice the base starting to turn slightly white, especially near the bases, it’s time to wax. This is called base burn and it’s caused from snow gradually sanding down the base. As we spend more time on our edges, these areas are much more susceptible to base burn.
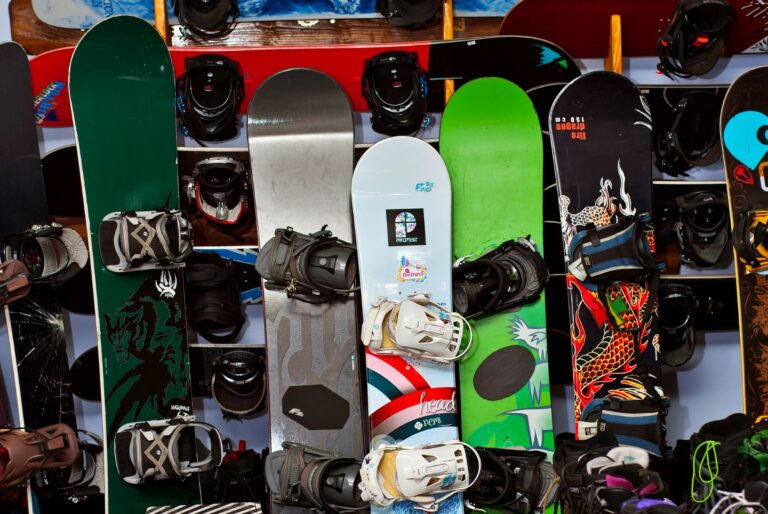
Sintered Base: If your snowboard has a sintered base, it will require wax more regularly than an extruded base. This is because the sintered base has more pores so it will dry out faster.
These are the most noticeable signs that you need to wax your snowboard. If you can’t remember the last time you waxed either, it’s probably time to do it too.
How to Wax Your Snowboard
Waxing your snowboard is an extremely easy and enjoyable maintenance step where you can immediately notice a change in performance after your efforts.
Before you even gather all of the materials required to wax a snowboard, you need to figure out where to actually wax and scrape it. The job can be a little messy so it’s best to work from a garage or outside to minimize wax in your home. Wax that makes its way onto your floor can become extremely slippery so keep that in mind. Keep the crashes on the slopes and not at home!
If you have a work bench, you can purchase or make vices to hold your snowboard in place while doing the job. There are also mobile stands you can purchase from Amazon. If you’re on a budget, you can use two chairs and sandwich the snowboard between them. It works surprisingly well!
Below you’ll find all the information you’ll need to successfully guide you through waxing your snowboard for the first time.
Gather Materials
To wax your snowboard you will need the following materials outlined below.
- Ski form, table or two chairs
- Tarp or old sheets
- Waxing Iron or old clothing iron
- Base cleaner or dish soap
- Ski / Snowboard wax (all temperature or temperature specific)
- Scraper
- Wax brush
- Broom and dustpan
- Work gloves (optional)
1. Set Up Your Workstation
Make sure the area you are waxing in is well ventilated and you have access to a sturdy setup for scraping the snowboard. Wear older clothing or something you don’t mind getting wax on. You need access to a wall outlet and potentially an extension cord. Keep the floor clear of clutter.
Place a sheet or tarp on the floor to catch wax drippings and scrapings and place your workstation over it. Loosen the screws on your binding a turn to prevent wax dimples and potential screw inset issues.
2. Clean the Snowboard Base
Use a base cleaner or dish soap to clean the base of the snowboard with a rag. Dirt and grime from the slopes and storage can block the pores of your base affecting the quality of the wax job. Dry the base and heat up your iron.
3. Choose the Appropriate Wax
Depending on the conditions or temperatures, choose a wax that’s suitable for you. Wax can be temperature specific or all temperature for mixed conditions. Unless you plan on racing, you won’t need any of the fancy fluorinated waxes. Here’s a great guide on different snowboard wax types.
4. Heat up the Iron
Heat up the iron to the temperature specified on the wax. If this information isn’t available, start around 250°F (120°C). You want the iron hot enough to melt the wax but not hot enough to damage your base. If the iron starts to smoke or you hear crackling when using it, turn the temperature down.
It’s also advisable to have an extension cord nearby. You don’t want to be stretching in hard to reach areas with a hot iron.
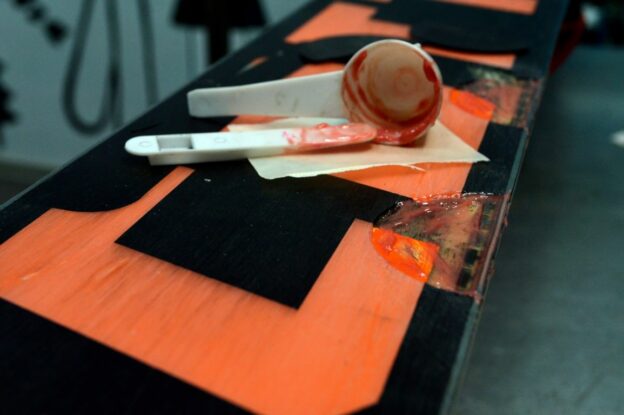
5. Melt the Wax onto the Snowboard
Hold your hot iron up and down and at a slight angle over the snowboard. Place the wax against the iron and the wax will start to drip. The best technique for wax distribution is to drip it along the base near the edges first. Then drip wax in a zig-zag pattern across the width of the base.
If the wax is melting too fast just remove the wax from the iron and replace it as needed. You’re looking to have even coverage of wax on the base of the snowboard. Aim to have wax drips about an inch apart.
6. Spread the Wax Evenly
Just like ironing clothing, you want to spread the wax evenly across the base of the snowboard in a circular motion. Ensure wax covers the entire base. If you’ve missed a spot just drip a little more wax where it’s needed. Pay careful attention to the edges as these areas are always the driest
7. Allow the Wax to Cool
After you’ve ironed the base, let the wax cool for at least 30 minutes. This gives the snowboard time to absorb the wax into the base. You can also opt to leave it overnight which will ensure maximum absorption. If you’re in a quick pinch, put the board in the cold for at least 10 minutes.
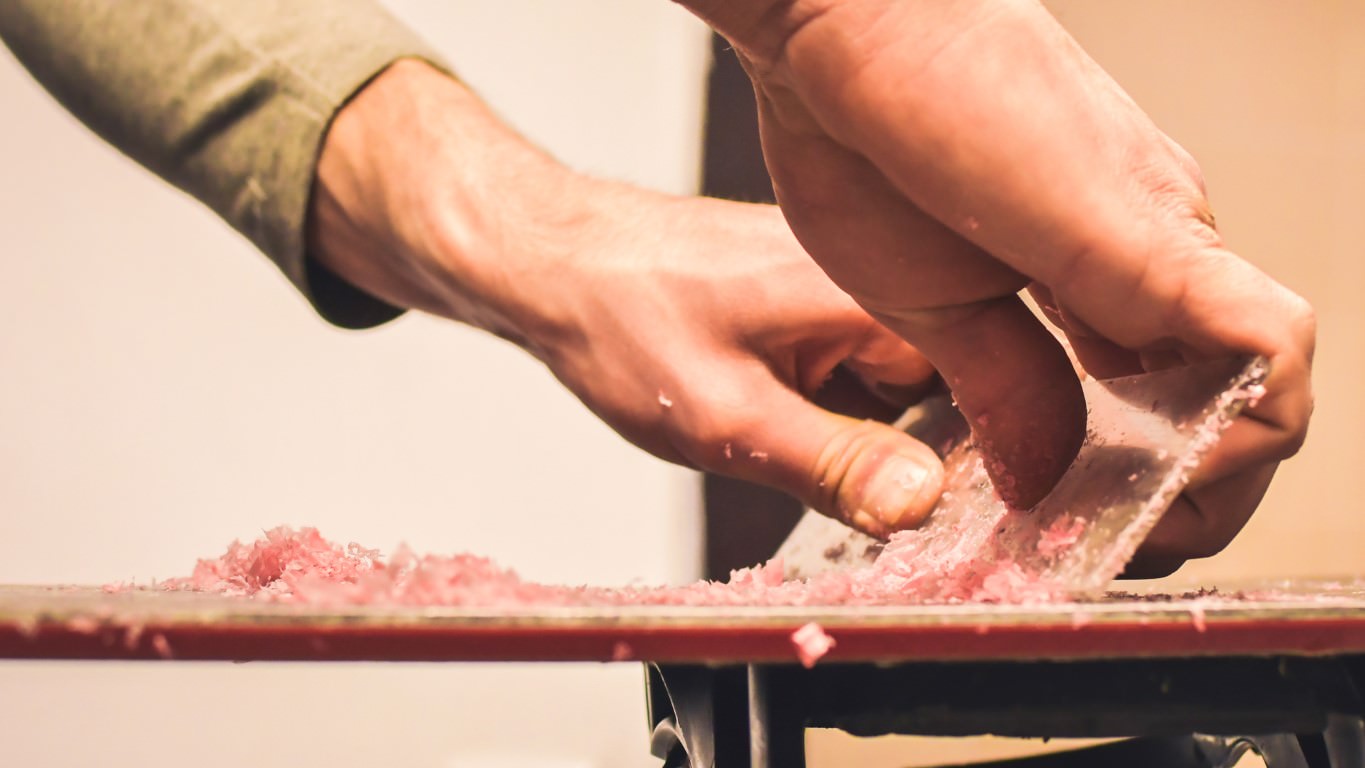
8. Scrape Off Extra Wax
Important: Be mindful when scraping your board near the edges. Snowboard edges are extremely sharp, and you can cut your fingers if you’re not careful. If you have a pair of work or bike gloves handy, wear them until the process becomes familiar.
Place the snowboard on your workstation. Take a scraper, place it at a 45 degree angle away from you and begin to scrape the base from nose to tail. You want to make long movements with uniform pressure to remove as much wax as possible with each pass. Make sure to remove any wax from the edges. They will be useless if covered with wax.
9. Buff Snowboard Base
Grab a brush and brush the snowboard from nose to tail. This step helps smooth out any wax left on the base and provide a uniform wax surface essentially cutting down on resistance.
10. Inspect and Store Snowboard
In this final step, check your board from nose to tail. If you loosened your bindings, tighten them back up. Look at the coverage of the wax. Are there spots with excess wax still on the base? Is there any wax left on the edges?
If everything looks good, put your snowboard away until you’re ready to ride.

How Often Should You Wax a Snowboard?
In normal conditions, you should wax your snowboard after 5 full days of riding for optimal performance and protection. If you’re riding fresh powder, icy runs or artificial snow, wax every 3-4 days as these conditions strip wax away faster. These recommendations will help your snowboard last longer and to obtain better performance. You can get away with several days on the slopes without riding however, you will notice performance changes. If you see base burn on your edges, wax as soon as possible.
Frequently Asked Questions
Is It Difficult to Wax a Snowboard Properly?
Not at all! There is a slight learning curve but once you complete it for the first time, you’ll have a better understanding
What Happens if I Don’t Wax a Snowboard Regularly?
If you don’t wax your snowboard regularly, at the bare minimum, your speed will decrease. After several rides, you will begin to see base burn at the edges. After a full season with no wax, your base will dry, which could lead to delamination of your base and edges.
Can I Damage My Snowboard if Waxed Incorrectly?
Damage can result from having the iron too hot (not following recommended wax temperatures) or scraping too hard or unevenly, especially when using a metal scraper. Make sure the iron is clean prior to use as any dirt or grit can transfer to the base of the snowboard and cause scratches.
Do You Need to Wax a New Snowboard?
While many new snowboards come pre-waxed from the factory, it’s recommended to wax a new snowboard before its first use. The factory wax is often a generic layer meant for protection during storage and transportation rather than optimal performance on the snow.
Conclusion
Waxing a snowboard is one of the easiest maintenance steps you can do at home. It protects your snowboard and improves your speed and riding experience. Although you have to invest money into the materials required, it is much cheaper than going to the snowboard shop to get waxed.
Your investment will pay for itself in a season, and you will have learned a valuable skill. You can even start waxing your friends’ boards as an easy and profitable side hustle. Happy Riding.