Being Honest with Yourself About Your Skills and Capabilities
Your journey to mastering the slopes begins with a simple step: honesty. You need to take a good, hard look at your skills to understand and acknowledge where you’re at. Most people fall into one of two camps:
Overestimating: It’s easy to fall into the trap of overestimating your abilities. We’ve all been there, feeling like we can take on anything. The jump from beginner’s slope to black diamond is not that big in terms of being able to get down it. However, the difference in getting down it, as opposed to riding down in style, is vast. Remember, overconfidence can lead to injuries, setbacks and lost confidence.
Underestimating: On the flip side, underestimating your skills will hold you back. If you’ve mastered linking your turns on a green slope, then push to a blue and then a black. Once you are riding a slope comfortably, it’s time to take on more challenging terrain.
Remember, your snowboarding journey is a marathon, not a sprint. Gradual, consistent progress is the way forward. Just like you don’t go from your first driving lesson to being an F1 driver, you won’t become an expert snowboarder overnight.
Realistically evaluating your skills enables you to understand where you are and what you need to improve, which sets the stage for consistent and sustainable progression.
Taking Lessons from Professionals
I am a prime example of the advantages and disadvantages of being a self taught snowboarder. I picked it up very quickly and had no lessons for the first decade, and I still developed into a good snowboarder. But having been on alpine, freestyle and freeride camps since, I have become a much better snowboarder with professional help.
Look at pros, such as Shaun White and Travis Rice, they got lessons as kids and then had professional coaches to help them become the riders they are. Learning from the right instructor can be a game-changer. They’ll guide your progress, correct your form, offer expert advice and provide invaluable feedback that you just won’t get learning on your own.
Not sure where to find quality instructors? Start with the American Association of Snowboard Instructors to ensure that you’re learning from qualified, experienced professionals. It is not cheap to get lessons, but investing time and money in tuition means you progress faster and avoid some of the bad habits I got into.
Training off the Mountain
Snowboarding is physically demanding. It requires more than just the skills to ride. It demands fitness, strength, balance and flexibility. By training off the mountain, you can build these essential physical attributes to improve your snowboarding.
Get Fitter to Snowboard Better
Being physically fit will improve your snowboarding no end. So get down with cardiovascular exercises, such as running, swimming or cycling. This will boost your fitness and stamina, meaning you can ride longer between stops and spend more hours on the slopes each day.
Enhance Core and Leg Strength
Incorporating specific workouts and exercises like planks and squats into your fitness routine will strengthen your core and leg muscles. Strength training makes snowboarding easier, improves endurance and makes your muscles more efficient when called into action.
Improve Flexibility and Balance
Being more flexible and having better balance makes a huge difference when snowboarding. Even just practicing standing on one leg helps, but balance boards that replicate the snowboarding movements are even better.
You should also consider yoga or pilates, which are great for improving flexibility, balance, and core strength. I have been doing yoga once a week for years, and it has greatly improved my snowboarding.
Building Endurance for Longer Snowboarding Sessions
Snowboarding is unlike most other sports. You have short very intense periods of exertion spread out over a prolonged day of physical exercise. Building endurance allows you to ride for longer between stops and to carry on for more hours – which means more fun and faster improvement.
While cardiovascular fitness and all of the above help, snowboard endurance only really comes from snowboarding. So get out there and ride as much as possible, and your endurance will improve.
Also, don’t forget the importance of proper nutrition and hydration in maintaining your energy levels. Oh, and stretching before and after really helps keep the aches at bay.
Skills to Improve Your Snowboarding
To progress as a snowboarder, you’ll need to learn the below skills. They are in a rough order or priority.
Controlling Speed During Turns
Mastering speed control during turns dramatically improves your snowboarding experience. Not only will it keep you safer on the slopes, but it will save energy (braking is tiring), give you more control and help you take on more challenging terrain with confidence.
Begin by practicing on a moderate slope. Make a series of S-shaped turns traversing down the slope. This will naturally reduce your speed. Remember, the sharper the turn, the more you’ll slow. For comparison, ride the same bit of slope without turning to see how much faster you go.
It’s all about using the edge of your snowboard as a brake. Any turn can have some extra pressure applied at an angle to slow you down. Controlling your speed while turning should become second nature.
Learn to Carve
Rather than turning to slow down if you stay on your edge, you can actually speed up through the turn. Start by rocking onto your toe or heel edge on a shallow slope and letting the sidecut of the board take you on its natural turning arc. You’ll notice you accelerate, cutting across slopes on which you’d normally need to go straight.
To carve, you need to get into a low squat and really transfer energy into the edges. You can do this on the toeside by getting the knees over the edge and almost trying to grip the snow with your toes. On your heelside, the position is like starting to sit down. You should be low enough to grab the toe edge (don’t grab it, though!)
Paying Attention to the Fall Line When Turning on Steep Terrain
The fall line is the slope’s steepest descent, essentially the path a ball or water would naturally take. Understanding the fall line and planning your turns around it becomes more important when on steeper terrain.
If you start your turn across the fall line, continue turning through the fall line and complete it across the fall line to face the opposite direction. This controls your speed and ensures you spend less time in the steepest, most challenging part of the slope. On particularly steep slopes, you may even want to pop the turns from toe to heel edge and vice versa.
Bending Knees and Leaning Forward When Turning on Steep Terrain
Slopes steeper than you are used to are intimidating. But with your existing technique and a couple of tweaks, you’ll be flying down them while in control (mostly!).
Bending your knees lowers your center of gravity, giving you more stability and helping you apply more pressure to the board edge. On steeper slopes, go full Westeros and bend the knees as if prostrating yourself in front of the Iron Throne. Straight legs equal falling.
You should also shift weight to your front foot, which is critical for initiating turns. This will feel counterintuitive as the natural instinct is to lean away from steep slopes, which makes it more difficult to turn and control the board. You’re looking to have 60% of your weight over the front foot.
Sort your knees and weight, and you’ll be shredding the steeps in no time.
Maintaining a Relaxed Posture, Especially on Rough Terrain
Maintaining a relaxed posture is crucial when snowboarding. Not only will you ride better, but you’ll have more fun.
It’s easy to become tense, especially when facing difficult terrain – but that is the worst thing to do. Tension makes your body stiff and unresponsive to the changing conditions under your board, while keeping your posture loose and relaxed allows your lower body to absorb the bumps. Remember, the mountain isn’t your enemy; it’s your playground!
Practicing Snowboarding in Various Snow Conditions
Snow isn’t always a flawless white carpet. It can be powdery, icy, slushy, cut up, bumpy or hardpacked – and sometimes all of that in one run. Each snow condition requires different techniques, so the best way to become a versatile and adaptable snowboarder is to ride whatever the conditions.
There is nothing like a powder day to keep you loose and relaxed. While in icy conditions, you’ll learn about edge control and the importance of bending the knees and getting your weight forward. Don’t shy away from bad conditions – embrace them!
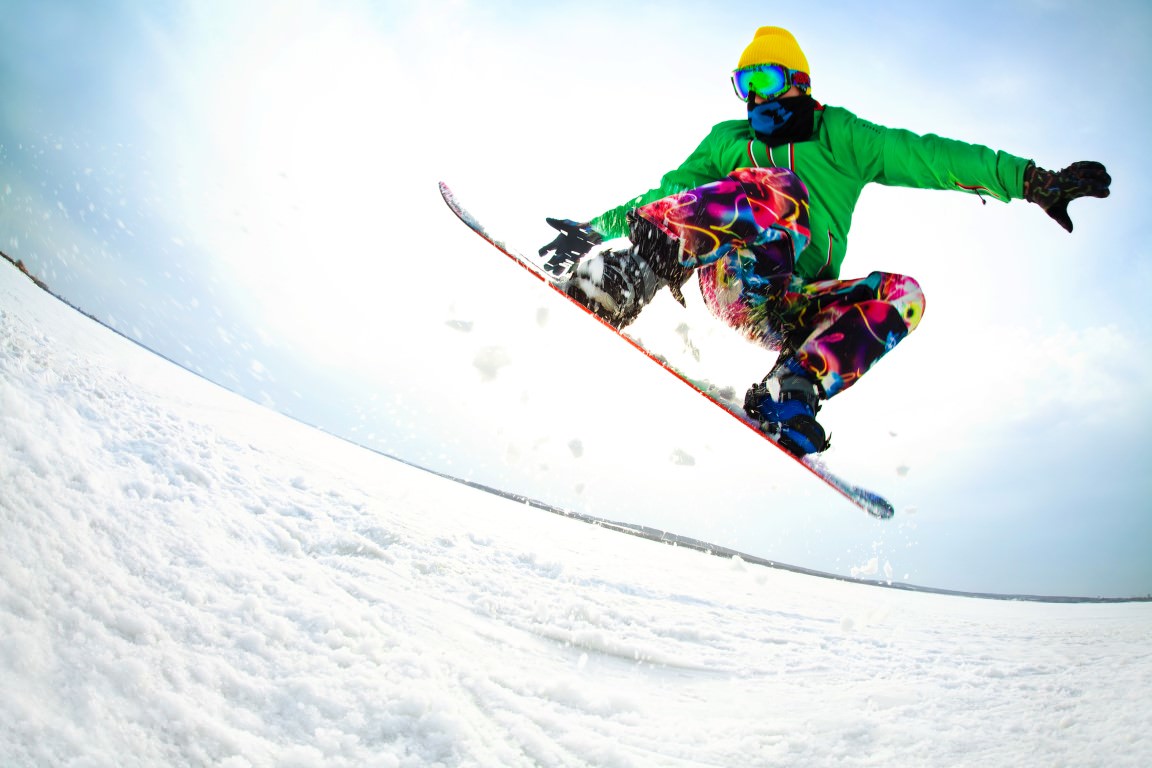
Mastering Both Regular and Switch Riding
Whether you’re a regular rider (left foot forward) or a goofy (right foot forward), learning to ride in the opposite direction, or “switch,” opens up a world of possibilities. Imagine landing a sweet 180 only to fall because you can’t ride switch riding. Switch is critical for many tricks, very useful in challenging terrain and takes your riding to the next level.
Learning switch riding will feel as awkward as a teen’s first date, but as with everything, practice makes perfect. A good way to learn is to force yourself to ride switch for an entire run. You’ll feel like a beginner again at first, but put the time in, and when switch clicks it’ll feel really natural.
Learn Advanced Ways of Turning a Snowboard
Most people learn to initiate turns by pointing with their lead arm the way they want to go. This turns the shoulders and is called shoulder led turning. Once you’ve got this dialed in (without needing to point), it’s time to take a step forward and explore advanced turning methods.
Remember, turning techniques aren’t one-size-fits-all. Different turns work better in different situations, and part of improving as a snowboarder is learning when to use each technique. Practice the below-advanced turning techniques, and you’ll find yourself navigating the slopes with more control, precision and style, all while using less energy.
Hip-Led Turning
Hip-led turning, also known as body steering, is a technique often used in steep or off-piste terrain. Your hips lead the turn, helping you to pivot your snowboard quickly and efficiently.
As you begin your turn, rotate your hips in the direction you want to go. Lock your upper body so it follows your hips, and your snowboard will naturally turn beneath you.
Knee-Led Turning
In knee-led turning, the movement starts from your front knee. Bend and direct your knee towards the turn, and let your snowboard follow the motion. This technique gives you more control over your board, making your turns sharper and smoother.
Knee-led turning should be a subtle movement. There’s no need to exaggerate the bending and pointing of your knee. Just a slight lean makes a big difference.
Foot-Led Turning (Paddling)
Foot-led turning, also known as paddling, involves using your front foot to initiate turns so you twist the board on its axis. This technique is very precise and good when facing down the fall line rather than across a slope. It’s particularly useful on flatter terrain, where you need to turn but don’t want to lose speed.
To do a foot-led turn, paddle your front foot onto your toe or heel edge, depending on the turn’s direction. This creates a longitudinal twist to your board, digging your edge in to initiate a turn. You then paddle your rear foot in the same direction and use your edge to maintain speed.
Cross-Under Turns
When you begin snowboarding, you will be doing cross-over turns. This is where your upper body crosses over the board to turn. Conversely, cross-under turns are when your body stays more or less in the same position, and your lower body crosses underneath you using hip movements.
It is different from the hip turning above as you are not twisting. Instead, you swing your hips forward and backwards. You don’t straighten between turns but instead, maintain a solid half squat. The hip movements push your legs and the snowboard out in the direction of the turn beneath you.
Cross-under turns require a bit of pace, but then use less energy and allow for sharper turns. However, maintaining the squat position is of course tiring. They enable you to head down a very narrow piece of slope while controlling your speed, so it is a very useful skill to learn.
Cross-under turning can be combined with paddling for more precision. They can also be combined with carving. In fact, very narrow cross-under carves can speed you up in flat sections.
Learn to ride Alpine Style
The majority of us learn to ride with our shoulders pointing the same way as the snowboard. However, the original style of snowboarding, often called alpine, has the shoulders across the board so your chest faces the tip and your arms dangle either side of the board. It improves stability, maneuverability and visibility but you lose versatility.
To learn, it’s best to adjust your bindings into forward stance so both feet are positive or to have the rear one close to zero. This forces you to adopt an entirely different position and raft of skills.
Facing forward is particularly useful in challenging off piste terrain. For example, Xavier De La Rue often rides with his arms out on either side. You’ll also see many freestylers landing big air in an alpine position as it’s a more stable landing position.
I spent a season riding with a 27/-3 set up to get to grips with alpine. Now even if I am in a duck setup, I can ride with an open chest, shoulders across the board. It gives me the versatility to flit between the two styles to ride however is appropriate for the conditions.
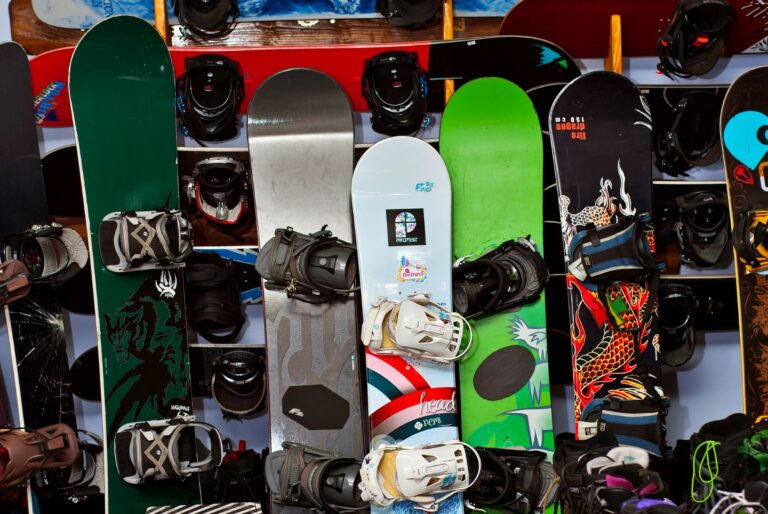
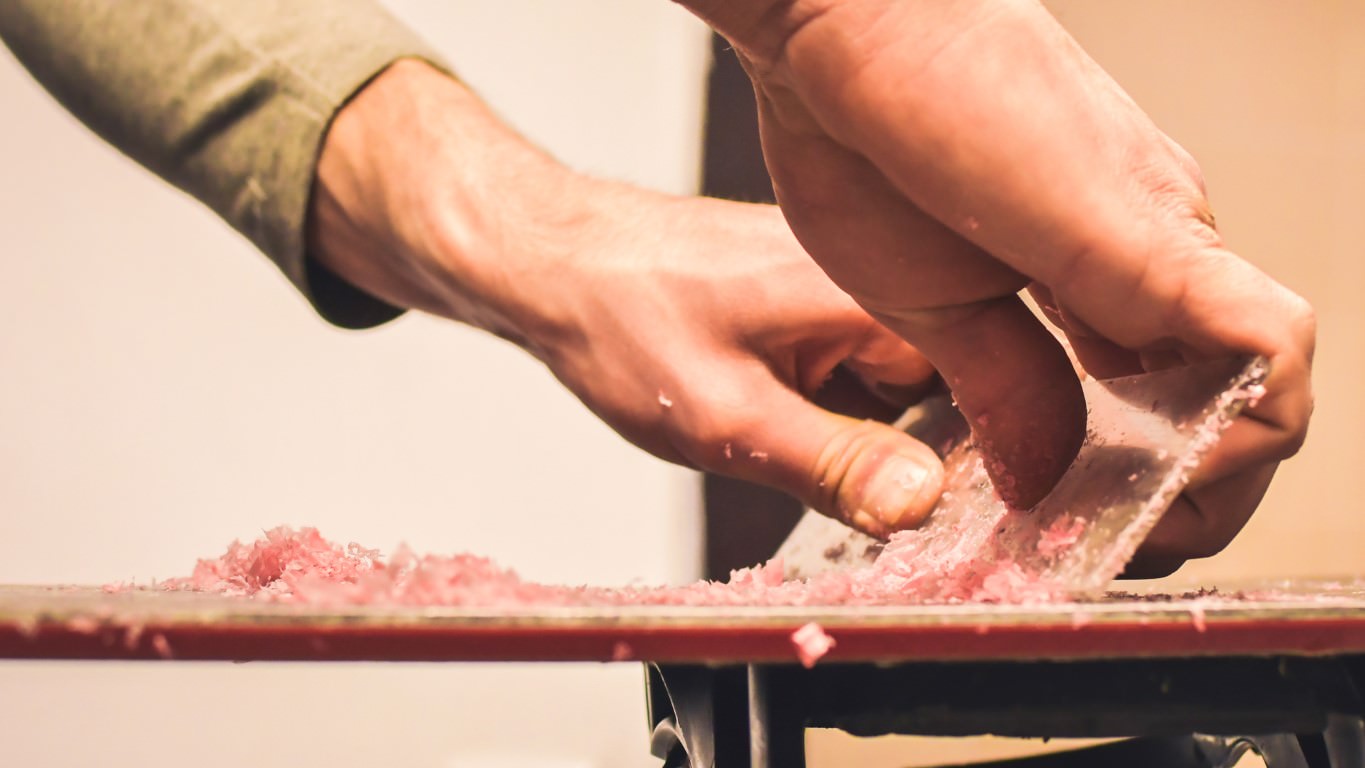
Upgrading Your Board as You Advance
As your skills improve, you might find that you outgrow your board. For example, if you have a board designed to make snowboarding as easy as possible for a beginner, or a freestyle board, then it won’t be as stable at speed or great for carving.
But it is worth saying that any snowboard can do any of the above. The only difference is that specialist boards make that specialism easier. Each board has its advantages and disadvantages, and while you might think it is the ‘beginner’ board that is holding you back, it probably isn’t.
But riding different boards is great for your progression. You have to adapt and are forced to use new skills to get the most out of your new weapon. Which, over time, will make you a better rider. But beware, many that switch from a soft, forgiving freestyle noodle to a stiffer all mountain stick struggle to adapt at first.
Incorporating New Techniques into Your Repertoire
When you are learning new snowboard skills, it is about giving over a period of time to practice them. It can be really hard as you end up taking a step backwards and having less fun while you learn. But just remember that once it is part of your repertoire, it will enhance your riding.
My advice for learning new skills is to spend the first hour or so warming up. Once you feel you are at your existing level, spend a couple of hours focusing on the skill you want to nail. Utilize poor weather days or when riding with a slower friend to focus on technique.
Learning from Online Videos and Implementing the Learnings
Online resources can be very helpful. Platforms like YouTube offer a wealth of tutorials and technique breakdowns from professional snowboarders and qualified instructors. Channels like Snowboard Addiction offer detailed guides on everything from basic turns to complex tricks.
However, it’s not enough to simply watch these videos. The challenge is implementing what you’ve learned. I’d recommend sticking to one or two simple things to learn per session to make it easy to remember.
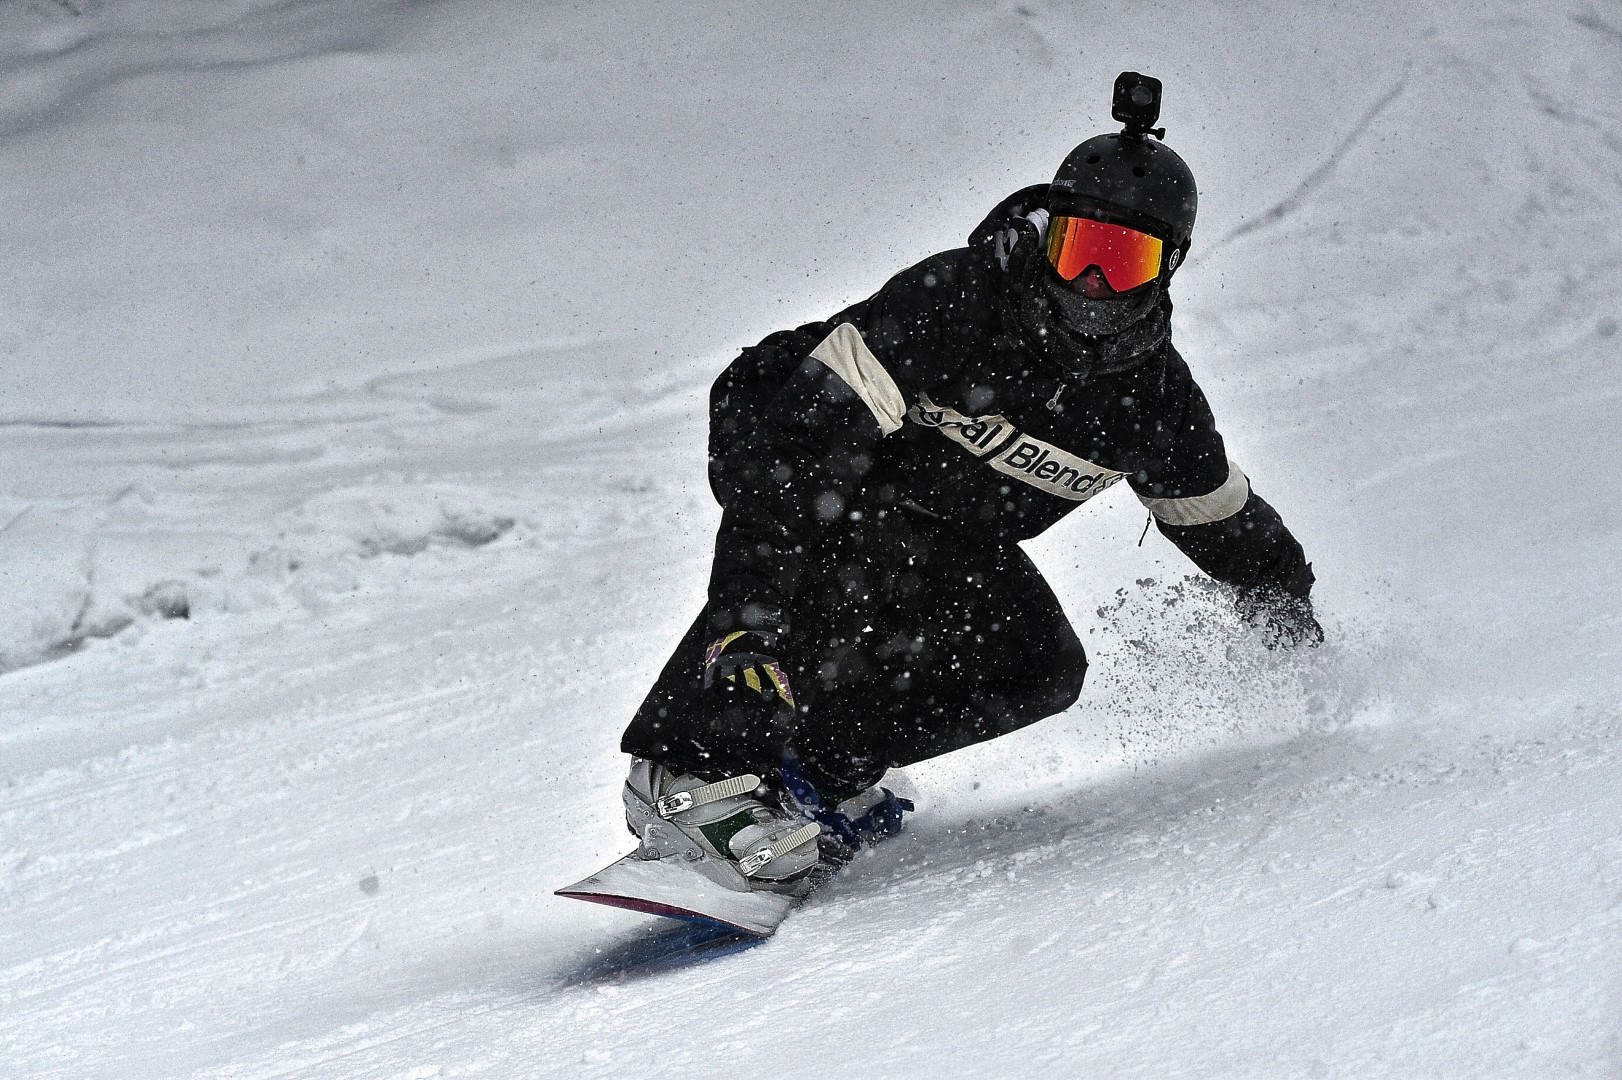
Recording Your Performance for Self-review and Improvement
What better way to spot your mistakes than to see them for yourself? Recording your shredding allows you to analyze your form and technique, helping you identify areas for improvement.
You don’t need fancy equipment for this. A basic action camera or even your smartphone will do the job. Ask a friend to film you as you ride, or set up a camera to record your performance.
Review the footage, comparing your form with that of professionals or tutorial vids to identify areas you need to work on. It will be humbling, but it’s one of the most effective ways to improve.
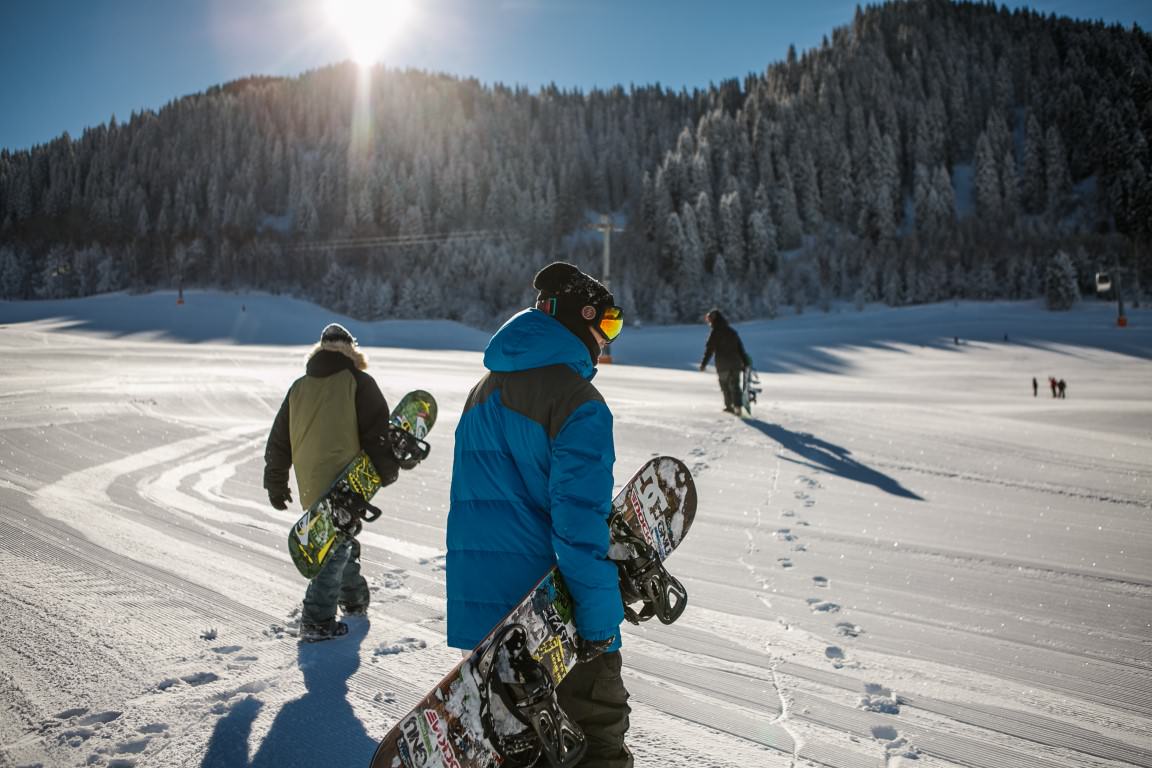
Joining Snowboarding Clubs or Groups for Community Learning and Support
Joy shared is a joy doubled. There is nothing better than having a day shredding with your buddies. But not everyone has a snowboarding crew to rely on. If so, join a snowboarding club or group to share the thrill, learn from others, get support, stay stoked and make new friends.
Check out local clubs or online communities like Snowboarding Forum. Shared enthusiasm will push you to improve faster and make your snowboarding journey more enjoyable.
Participating in Snowboarding Competitions to Test Your Skills
Finally, once you’ve honed your skills and built up your confidence, consider participating in snowboarding competitions. Competing puts your skills to the test and provides a benchmark to measure your progress.
Don’t worry about winning or losing. The aim here is to challenge yourself and gain experience. Plus, competitions are a lot of fun. You’ll meet fellow snowboarders and see their skills from a front row seat.
Conclusion: Shred the Slopes Like a Pro
As with any activity, becoming a better snowboarder is about applied practice and dedication. But what better thing to dedicate your spare time (obviously, I actually mean life) to than snowboarding?