What is Carving?
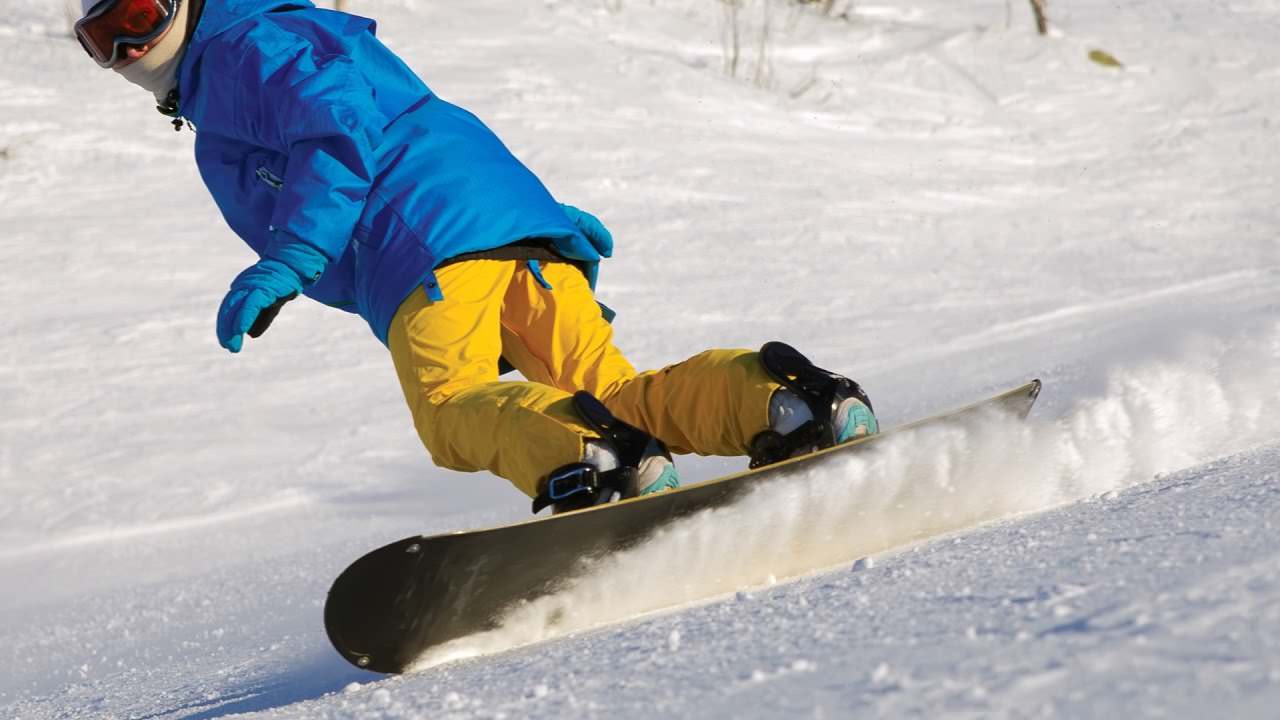
Carving is a technique that involves using the edges of your board to turn by cutting into the snow. Your snowboard slices into the snow as you initiate a turn, leaving behind a clean, sharp line.
It’s an elegant technique where the edges of your snowboard glide through the snow, rather than skidding on it. The result? You maintain your momentum, make precise turns and experience an exhilarating sense of flow.
Carving is all about smooth, clean lines that keep you moving with speed and style down the slopes. So say goodbye to skidding and sliding. It’s time to cut close to the bone!
The Importance of Carving in Snowboarding
Carving adds a splash of finesse and a large helping of adrenaline to your ride. When you progress from skidded turns to carving, it is like going from a kid’s trike to a sports car. It’s a game-changer that enables you to maintain speed, control and trajectory.
There is nothing wrong with skidding and sliding your way down a slope. We all do it, and you will even when you’re an accomplished carver. But mastering edge control gives you a new method to attack the mountain and unlocks more challenging terrain.
The satisfaction of leaving a clean line in the snow behind you can’t be underestimated. Imagine looking back up the mountain to see your perfectly carved lines glistening in the sun. If you’re not onboard the carving express after that, then keep skidding, but the rest of us will carve past you!
The Basics of Carving
At its simplest, carving can be broken down into two core components: stance and edge control.
Carving Stance: The Correct Body Position
The stance is all about how you stand on your snowboard. The basic carving position (before you have your edge engaged) is no different from your usual stance. You should be slightly crouched, knees bent, hips aligned with your board, and eyes focused on where you want to go. Your weight should be 60/40 front to back foot.
But your stance changes as you shift from toe to heel side. On the toeside carve you push your knees and hips forward over the board to apply more weight onto the edge. Whereas the heelside sees you in more of a squatting position – the lower you go, the more weight is applied to your heel edge.
The Role of Edge Control in Carving
Just like carving a turkey, control is key. If you jerk a knife back and forth or hack the blade in and out, you are going to butcher the bird. It’s the same with the snowboard edge, you need to apply pressure in a smooth, controlled and consistent way.
By opening your knees, you flatten the camber and apply weight onto the full effective edge of your snowboard. This means that rather than just the contact points biting, the entire edge engages in the snow. When the edge is locked in, you can follow the natural arc of the board in a carve.
At the start of the carve, your weight is slightly shifted onto the front foot to engage the edge. Weight is then central through the carve, before moving to the rear foot as you come to the end. Smoothly shifting your weight is what maintains edge control, and stops you from butchering the mountain.
Steps to Perfect Your Carving Technique
All the theory in the world is great, but you probably want a simple to-do list.
Toeside Carving
- Initiating a Toeside Carve: Start by shifting weight onto your front foot. Then to initiate the carve, push your hips and knees forward, opening your knees as you do so. Now twist slightly to initiate the turn and press your front toes down while lifting the heel. This will apply pressure on the toe edge of your board, tilting onto its edge to initiate the carve.
- Executing the Toeside Carve: Continue to lean into the turn, rolling your knees and ankles to shift your weight centrally between your feet with both knees and hips thrust forward to increase the angle so you are on your tiptoes. This will deepen the carve, creating a smooth, arcing turn.
- Completing the Toeside Carve: As you finish the turn, shift your weight slightly onto your rear foot and move your hips and knees away from the edge front foot first. This will disengage the leading edge followed by the rear to flatten the board and smoothly exit the carve, ready for the next turn.
Heelside Carving
- Initiating the Heelside Carve: Shift weight slightly onto your front foot and spread and bend your knees as if you are squatting to sit down on a low bench. Now lift the toes of your front foot to engage the heel edge and get the carve started.
- Executing the Heelside Carve: Stay in the squat position but roll your knees and ankles so weight is even across both feet and pushed back into your highbacks. The lower you squat, the more you lean, the deeper you’ll carve, and the smoother your turn will be.
- Completing the Heelside Carve: To exit the heelside carve, shift your weight slightly onto your rear foot while standing slightly from the squat and lower your front toes. This will disengage the edge at the tip, and you can follow with the rear foot to flatten the board and complete the heelside carve.
Types of Carves in Snowboarding
Did you think there was only one type of carving? Think again!
Basic Carve vs. Dynamic Carve
Going back to the turkey… Basic carving would be at the kitchen table nice and steady with no surprises. While carving a turkey in the back of a 4×4 that’s hurtling down a rutted path would require you to constantly adjust your position, making it dynamic.
Leaving Thanksgiving dinner behind, dynamic carving on a snowboard is the same principle. It means your upper body takes a different path to your snowboard. This can be because the surface is uneven or because you are getting creative.
Being able to dynamically carve enables you to maintain edge control whatever the conditions. For example, you can carve on the downslope of an icy mogul using your downhill edge and still remain balanced because your upper body is not in the standard position.
Understanding Cross-Under and Cross-Over Carving
When you first learn to snowboard, you’ll be doing cross over turns, where the body moves across the board when turning. You can carve perfectly well in this way, but it is tough to make short snappy carves.
Cross-under turns are the opposite, your body stays still, and the board moves beneath you. It is more difficult, but it enables you to make turns more quickly and to get freestyling because you are not reliant on your upper body to turn the snowboard.
An advantage of crossunder carves is you can ride straight down a narrow slope while controlling your speed. This means you can keep to your own corridor when it is busy without slowing down if it is flat, or picking up too much speed if it is steep.
Advanced Carving Techniques
Let’s raise the bar with some advanced carving:
Euro Carving: What Is It and How to Do It
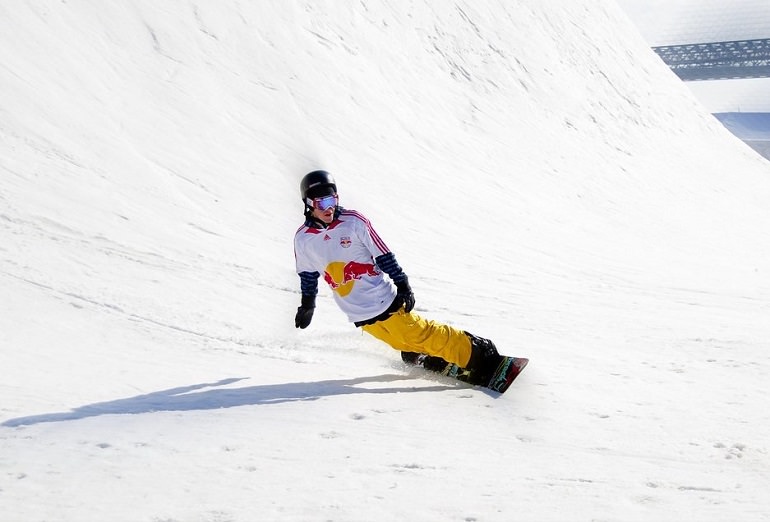
Also known as extreme carving, it is fun and exhilarating; plus it looks great. It’s all about dramatic, low-angle carves where your body gets up close and personal with the snow.
The aim is to get so low that on your toe edge, you can put your forearm down and straighten your legs. You then use your core muscles to stay in the carve. If you really nail it you can complete a full circle.
On your heelside, you get super low. Close enough to the ground for your rear hip to touch. Again, you can even put your rear arm down. Alternatively, your front hand can grab the board. Again hold the carve as long as you can, with enough pace, you can go 360.
The Eurocarve technique is no different from normal carving except that everything is far more exaggerated. Squat lower, lean further, and push into your toe or heel edge harder. A stiff cambered board helps; you’ll struggle to euro a flexible rocker board.
Carving on Steeper Slopes and Variable Terrain
Steeper slopes require more balance and control, while variable terrain throws in a wild card to keep you on your toes. This is where dynamic and cross under carving come into their own.
Common Carving Mistakes and How to Avoid Them
Even the best of us can stumble. And hey, falling is all part of the ride! But here are a few common carving errors and how to avoid them.
- Hunching Over: You should bend your knees and hips but keep your back straight. Don’t bend at the waist. Instead, maintain an upright stance with your weight centered over your board.
- Insufficient Edge Pressure: You need to commit. If you don’t apply enough pressure on your edges, your carve will slip out. Apply more pressure by getting weight over the edges.
- Turn Early: Begin your turn earlier than you think you should. Starting too late will throw you off balance and disrupt your carving line.
- Failure to Transition Weight: Remember to shift your weight from your front foot to your back foot as you move through the carve. If you don’t, your edge will skid.
- Not Leaning Into the Turn: You need to lean into your turn to keep your board on its edge and maintain your carve. The more aggressive the lean, the better the carve.
- Leaning Too Much: Leaning alone is not enough. Without applying pressure to the edge, which is achieved through a combination of your body position and speed, you’ll end up eating snow.
- Giving Up Too Soon: Carving takes practice! Don’t get discouraged if you make mistakes. They’re all part of the learning process.
Tips and Tricks to Improve Your Carving
Here are a few tips that helped me when I was getting into carving.
- Change Your Stance: A more forward facing stance is easier to carve than a duck stance. Once you can carve swap back.
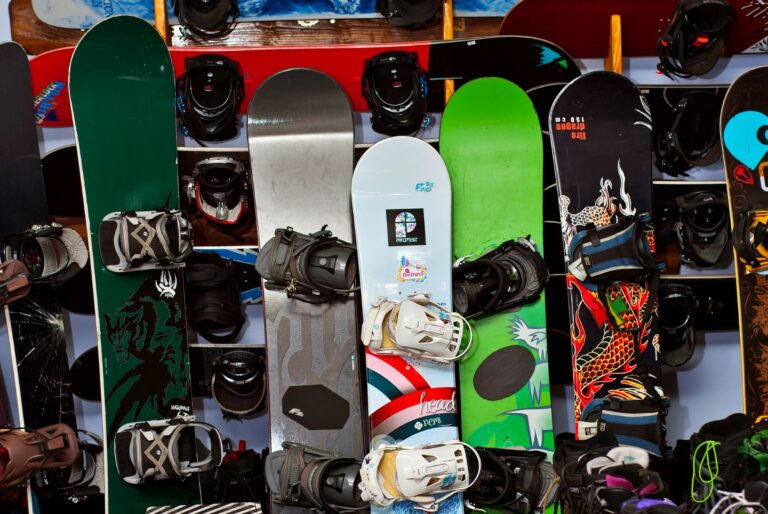
- Try a Different Snowboard: Stiffer, traditional camber or flat boards are far easier to carve than flexible boards or rocker profiles.
- Learn Alpine Snowboarding: A very different style of snowboarding with your shoulders across the board. It is great for carving.
- Open Your Knees: Pushing your knees away from each other flattens the camber to apply pressure along the entire effective edge of your board.
- Grip With Toes: On toe side carves try to grip the snow with your toes. Obviously, you cannot actually do this, but it helps to push your shins forward.
- Sit in a Chair: On the heelside imagine you are sitting on a low bench.
- Get Paddling: Paddle turning is a great way to initiate carving turns.
- Increase Binding Forward Lean: A more aggressive lean on your highback obviously makes heelside carves easier as it is easier to apply pressure. Pushing your toes forward also helps with toeside carving.
- Find a Rhythm: Aim for a steady, rhythmic flow in your turns, which helps with timing and precision.
Conclusion
When you master carving, it is like unlocking another level of snowboarding. So while turkeys don’t vote for Thanksgiving, most snowboarders would vote for carving.