Snowboarding is an extremely fun sport. Is it better than skiing? It’s definitely more unique! What makes it so? Snowboarding was founded by a couple of surfers who loved being creative and wanted a fun way to spend the winters when the waves weren’t pumping.
In the early years of the sport, Snowboarding was seen as the winter discipline that had more of a “trick” component to it. While skiing was seen as going fast and laying out beautiful carves in the snow, snowboarders wanted to copy skateboarding tricks on the slope. As a result, freestyle snowboarding was born. Fast forward to today, snowboarders launch off of jumps larger than houses while performing unbelievable and frankly dizzying tricks.
All of these tricks have one thing in common. It’s the ability to defy gravity and jump while strapped to a snowboard. It’s the most basic trick to perform on a snowboard, yet it is one of the most fundamentally important movements to learn. In this article, we’re going to go over exactly how to do this and how to progress from the flat to bigger and bigger jumps.
Do I Need Any Special Type of Snowboard to Start Learning Jumps?
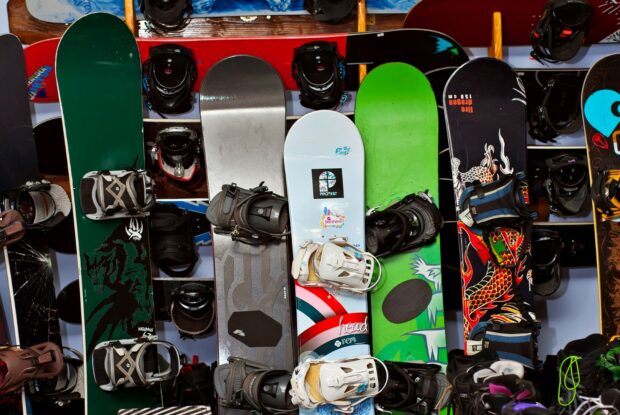
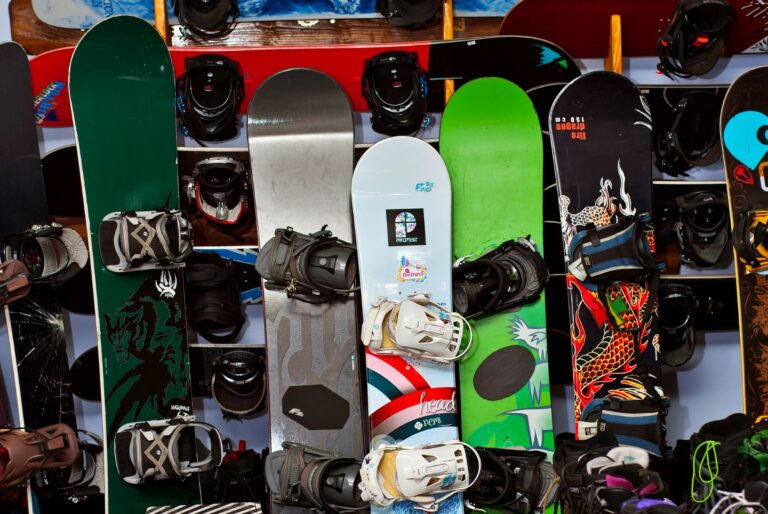
If you’re asking yourself if I need a special snowboard to jump, you’re not alone. It’s a question that can be answered in a couple of different ways. The short answer is no. Any snowboard on the market can jump.
If you’re looking for something that will perform best in these conditions, look for a freestyle snowboard with medium stiffness. This type of snowboard will provide the best pop and stability for most riders. Advanced and expert level park riders might go for a snowboard that’s a bit stiffer, which helps improve pop, stability and carving performance at higher speeds when going into large jumps.
How Long Does It Typically Take to Learn how To Jump on A Snowboard?
Learning to jump on a snowboard can be an exciting experience. Floating through the air is a feeling that’s hard to replicate in another situation. Getting comfortable with being in the air does take time, though, and there are certain skills you will need to develop before progressing from the flats to side hits to actual terrain park jumps.
The first thing you’ll want to be able to do is be comfortable turning and carving on green runs with excellent body position. Learning how to jump and pop off of the slopes and side hits might only take you a day or two. Clearing small jumps is easily attainable in the first season, and it’s possible to progress to medium jumps in your first season if you develop superb air awareness.
It’s important to point out that safe progression is extremely important. Getting familiar with takeoff speed, balance and proper landing technique takes time. Falling on snow still hurts and can lead to injury. Just be careful and don’t push yourself too much.
How Do I Actually Jump?
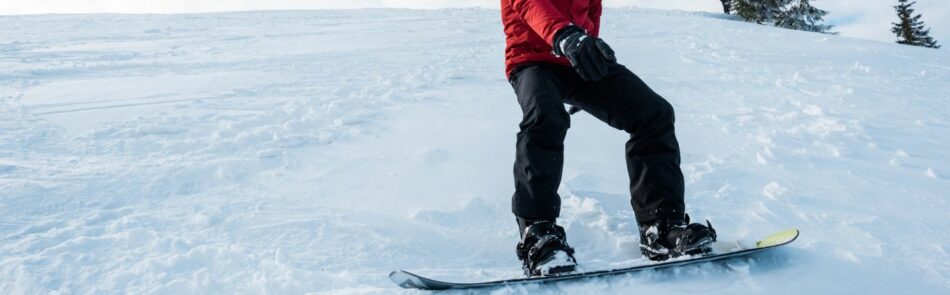
Jumping is a progression that starts with proper body position. Stand on the snow without your snowboard. Have your feet spread apart like you were riding your snowboard. Place your arms at your sides with the palms in and slightly away from your body. Make sure your shoulders are in line with your snowboard. This is known as the freestyle triangle.
Having a relaxed, untwisted body position ensures that when you take off, your body doesn’t do anything funky in the air. If you’re counter-rotated when you take off, you will untwist in the air, and you will not be straight or balanced. Proper body position is the most important aspect of jumping.
The Pop
From this position, practice bending your knees, jump off of both feet at the same time and bring your knees up. Before landing, extend your legs, and when you land, absorb the compression by bending your knees again. Focus on landing with equal weight on both feet. Try making the landing as soft as possible.
The Ollie
This movement is similar to a skateboarding Ollie. Each leg moves independently by loading the snowboard like a spring and releasing that energy by jumping. This movement creates more airtime. Timing is very important with this because it can affect your balance in the air if timed incorrectly.
- Start by rocking from the front of your board to the back
- While doing this, you pull your front leg up, which flexes the snowboard
- Jump off the back foot and pull both knees up
- Land with both feet similar to the Pop
The Pop and Ollie can be practiced on the flats or the slopes. Take time to develop timing and coordination of these movements, especially landing balanced with both feet.
Progressing to Side Hits and Small Jump
Now that you’ve had a chance to practice jumping on the flats and the slopes, it’s time to take it to small side hits and small features in the park. By now, you should have an understanding of how to take off, fly through the air and land in a balanced position.
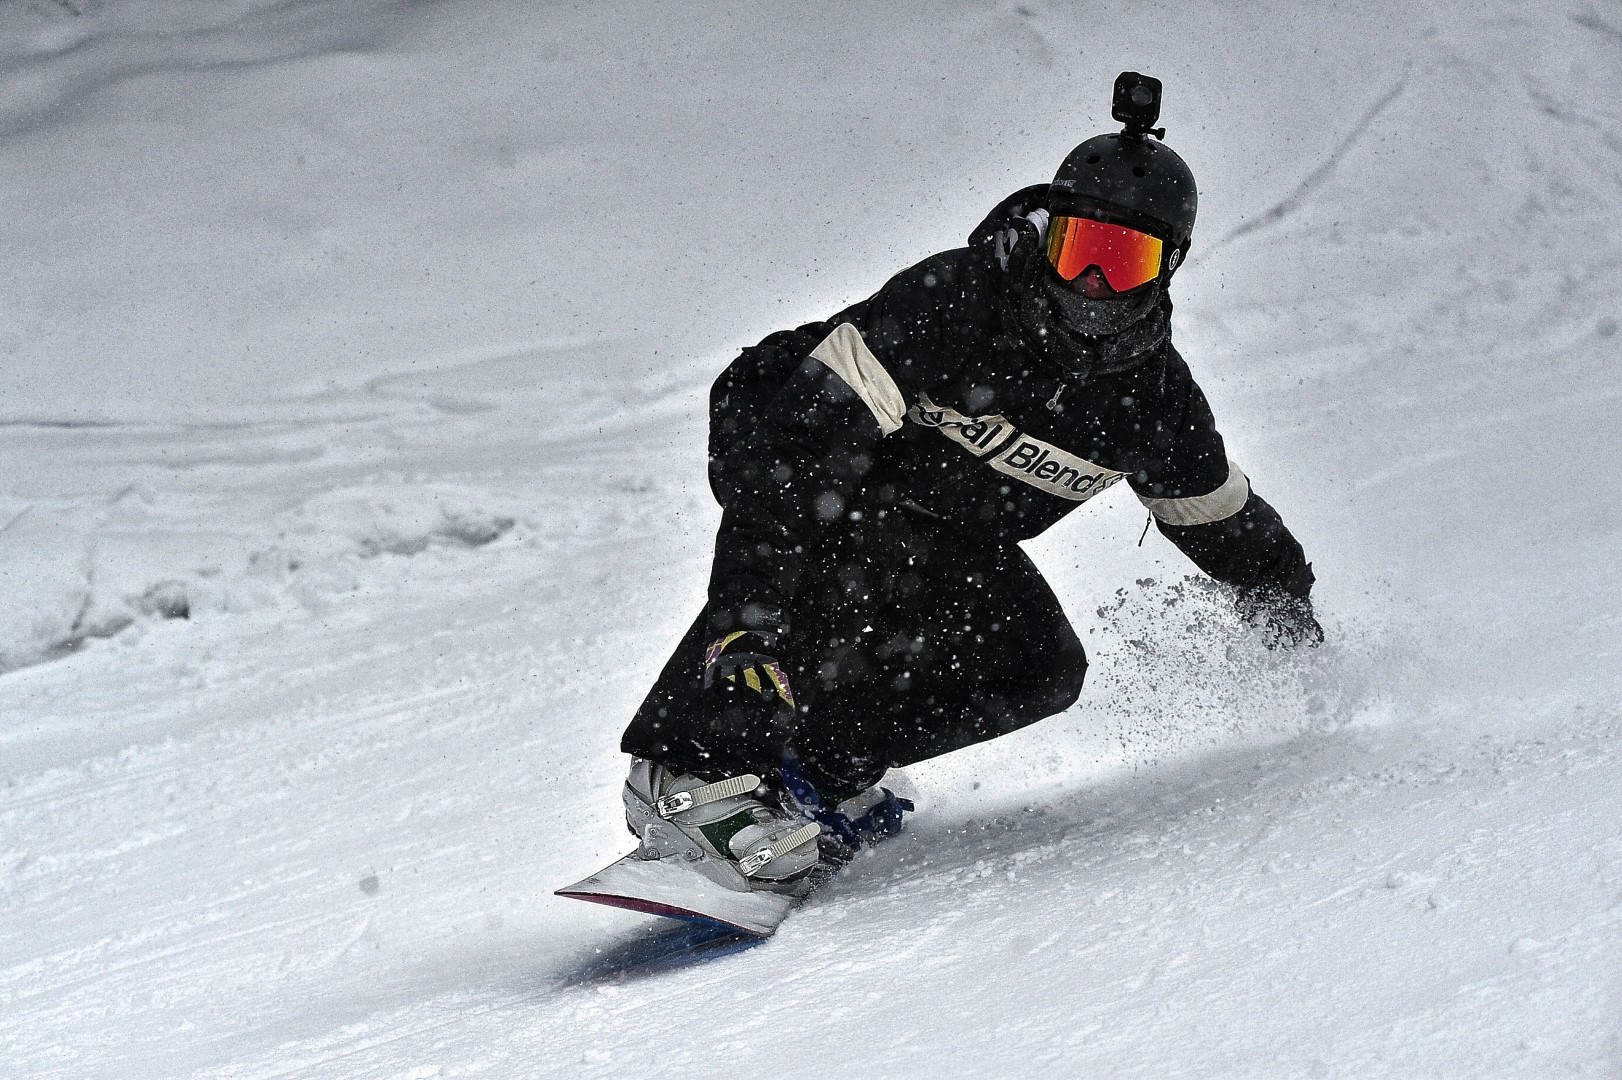
The Art of the Takeoff: Preparing to Jump
Preparing for the take off is the most important part of jumping. Any alignment or imbalances will be magnified in the air. Depending on the feature you are hitting, you want to have the appropriate speed.
The last 50 or so feet before the feature should have limited turning, which can throw you off balance prior to take off. Focus on looking ahead, standing in the freestyle triangle with slightly bent knees and being centered and balanced on the snowboard.
Executing the Jump: Mid-Air Techniques for Snowboarding
If proper body position is the most important part of jumping, timing is the second. As your snowboard nears the jump, you want to prepare to either pop or ollie just as your front foot reaches the lip of the jump.
- Push off strongly in either a popping or ollieing motion once the front foot reaches the lip
- Suck your knees up and keep them up
- Remain stacked over your snowboard in a now compressed freestyle triangle. Everything should still be in line with your snowboard.
- Keep an eye on your landing
Landing Your Jump
If your speed, timing and balance were dialed, landing should be a breeze.
- Spot your landing
- Slightly extend your knees in preparation for absorbing the compression upon landing
- As your snowboard touches down, bend your knees to absorb the compression
- Continue looking forward and ride away stacked over your snowboard.
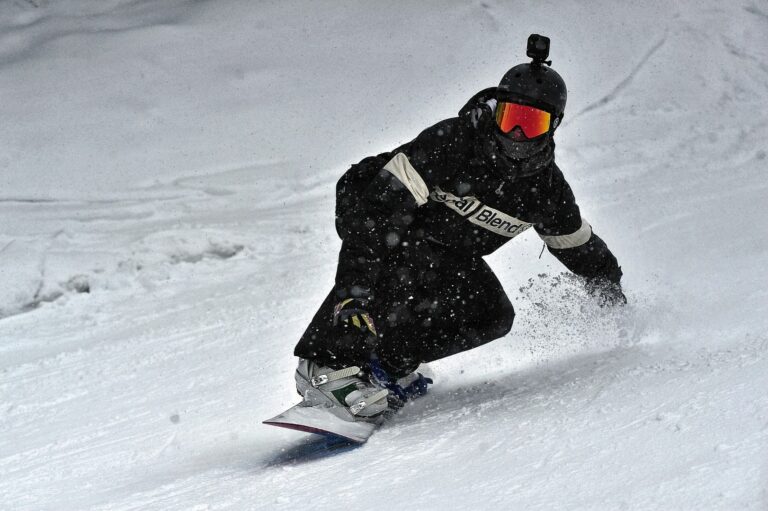
Styling Your Jump: Grabbing and Spinning Tips
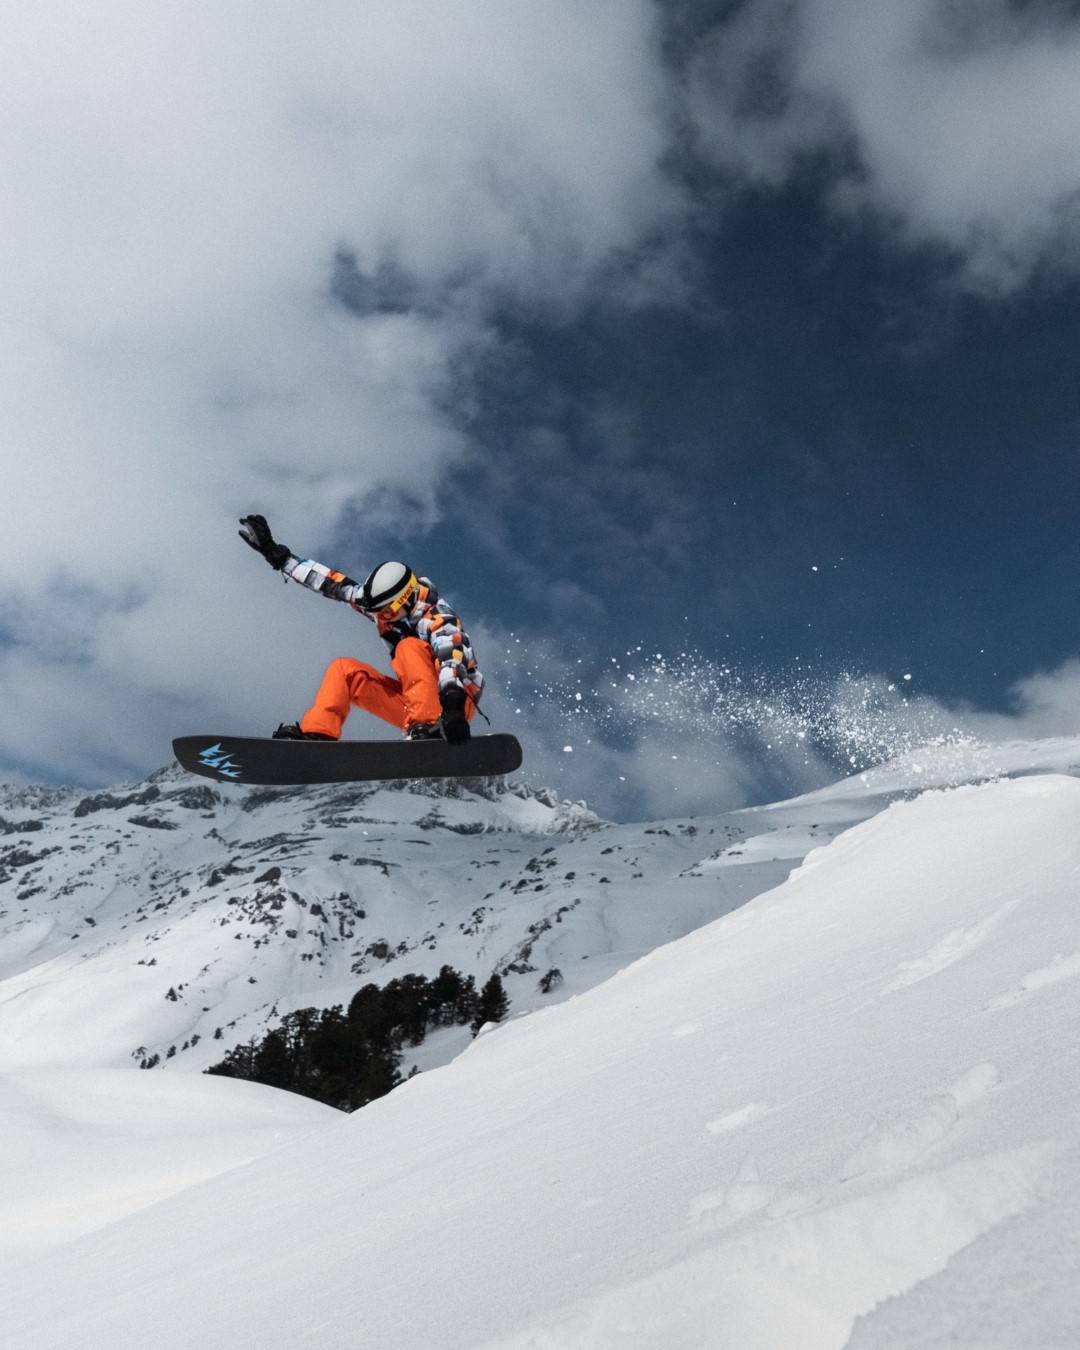
Once you have mastered the straight air and can successfully jump and land balanced, you can add some creativity. Snowboarding is all about tricks, jibbing and adding unique style while riding. Two ways to add some style to your jumps are by incorporating grabs and spins.
Grabs
Performing a grab is the easiest way to add a trick into your jump. There are several different spots to grab your board when airborne, although the easiest grab to perform is the Indy. This is where you take your rear hand and grab your toeside edge in between your feet. Here’s a link to a great video that goes over how to Indy grab.
No matter what sort of grab you choose to do, it’s important to note that it’s much easier to bring the snowboard up to you rather than move down towards it. In the case of the Indy, it’s all about bringing your knees up towards your chest so you can easily reach down and grab your snowboard without throwing off your balance in the air.
Grabs can be very easy to learn. Focus on getting enough airtime to perform the grabs and, as usual, focus on the takeoff and balance.
- Take off balanced
- Bring the snowboard close to your body
- Reach out and grab your snowboard while keeping your eyes focused on the landing
- Release the grab and return to a balanced and stacked position
- Land as usual
Spins
The next trick to practice is spinning on a snowboard. 180s, 360s, 540s and beyond will add some serious style to your riding. Spins are best practiced first on the flat ground, where you can get an idea of how to jump and rotate the snowboard in the air.
Just like turning on a snowboard, rotation comes from the lower body. By rotating your lower body prior to jumping, you build up rotational energy that can be released when you take off. The easiest spin to start off with is the backside 180.
- Slightly preload rotation by rotating your hips and knees slightly toward your toe edge
- Take off the jump on your heelside edge by slightly carving off your heelside edge to help initiate rotation. Release the rotational energy in your lower body as you take off.
- Bring your knees up while spotting your landing
- Try to land on your toeside edge or a flat base and ride out switched.
As you get more comfortable with hitting bigger features, you will have more time to add additional rotations into your jumps. This video introduces an excellent progression into spinning 360s, 540s and 720s.
Fine-tuning Your Jump: Common Mistakes and How to Avoid Them
What are some common mistakes seen when learning how to jump? Are there some bad habits you can develop too? Focus on these three important tips to aid in your jumping journey.
As stated earlier in the article, the most important thing to focus on when jumping is having a stable body position, dubbed the Freestyle Triangle. Any change in body position from a stacked and stable body position will cause balance issues in the air.
Timing when to jump is almost as important. It can be the difference between a successful landing and a crash. Jumping upward just as the front foot reaches the end of the lip provides maximum pop and balance, and height. Leaving the lip too early makes you lose out on height. Popping too late will throw you off balance, usually resulting in your tail springing forward and your nose dipping. You’ll be flapping your arms in hopes of staying level upon landing and preventing landing nose heavy.
Just because you’ve sent it and gotten some great air does not mean your jump is successful. If you can’t ride away from it, it does not count! Landing with control and balance is an art form that comes down to using your legs as suspension. Slightly extending and bending your legs as you land helps with the compressing as you land. If your legs are stiff, it’s going to be a very rough landing. If your legs are bent too much, you might not have enough room to absorb the landing and buttslap.
Building Up to Bigger Jumps: Progression and Patience
The first time you see a true large jump in the terrain park, it can be extremely intimidating. As you watch other riders fly off of it you notice how easy they make it look. Trust me when I say, those riders had a progression plan and guaranteed a few slams to get to that point.
Your progression will start on small jumps where you get a sense of how to take off, stay balanced in the air and land safely. Start dialing in the speed requirements by straight lining from a point where you don’t need to turn at all to clear the jump. This helps you focus on balance while on the run up.
Next, play with different speeds while coasting, popping and ollieing off the lip. Each scenario affects your speed requirements and where you’ll land. Coasting gives you the least amount of air, and ollieing maximizes your jump. Try adding some grabs in for stability. If you can believe it, throwing a “safety grab” while in the air helps with your balance.
Moving from small to medium jumps is straightforward. More speed and more air is to come. Continue to focus on balance because being unbalanced can cause major issues in the air.
If you’re even a touch tail or nose heavy, that extra time in the air can magnify the problem to the point of you landing on your back or your head. Balance, again, is such an important thing to reiterate.
Improve your jumping skills on medium jumps by adding more grabs and spins to develop your air awareness, confidence and comfort while in the air.
Moving to large and extra large features could take years of progression, but it’s the same as moving from small to medium features. Again, more speed, perfect takeoff timing and stability are required. Due to the increased air you will be getting, you’ll want to ensure your legs are strong and can handle the landing forces. Only a select few riders will ever hit these features, though.
Conclusion
It’s important to go at your own pace and only take on what you feel comfortable doing. You don’t want your season to be cut short because you took on a feature or trick outside of your ability level. Luckily, there are a lot of talented riders you can watch, ask questions to or have more experienced riders tow you into some bigger features. The keys are to stay safe, be creative and have fun…and STAY BALANCED!