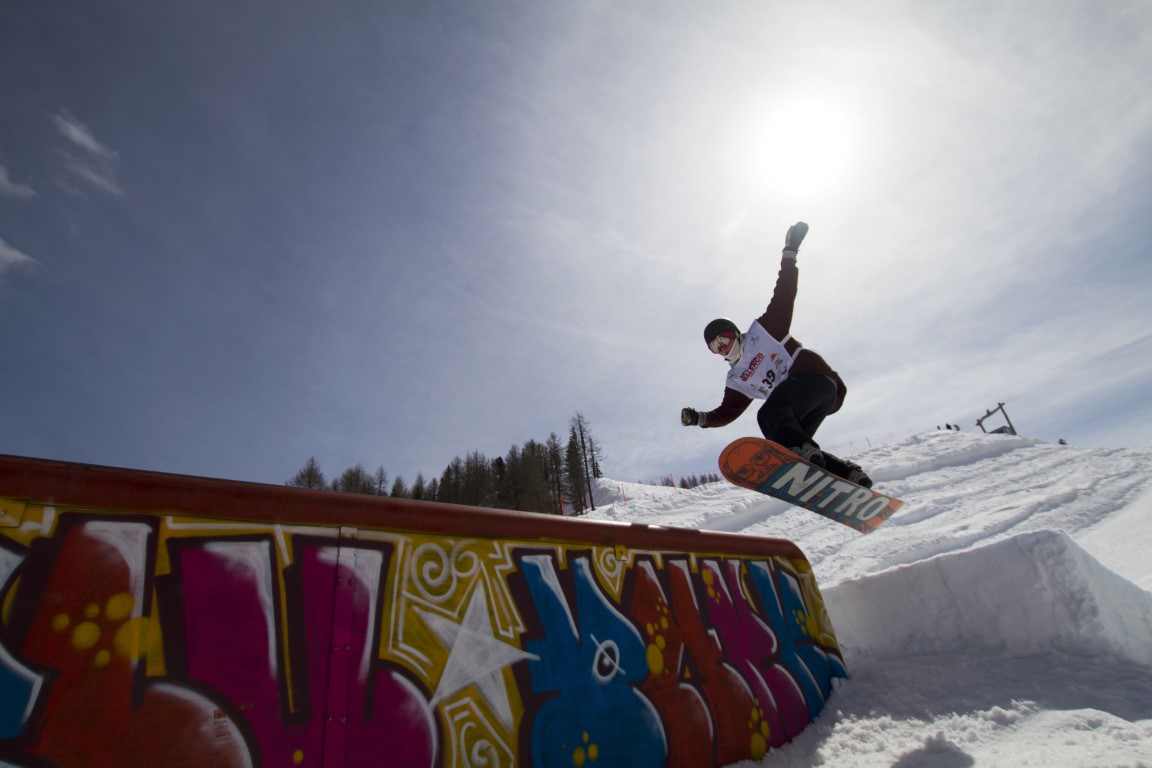
What is a Jib?
In snowboarding terms, a jib refers to riding, jumping and sliding on a non-snow surface. Commonly this is rails and boxes you’re sure to have spotted in the snowpark or during the slopestyle events at the Olympics and X-Games.
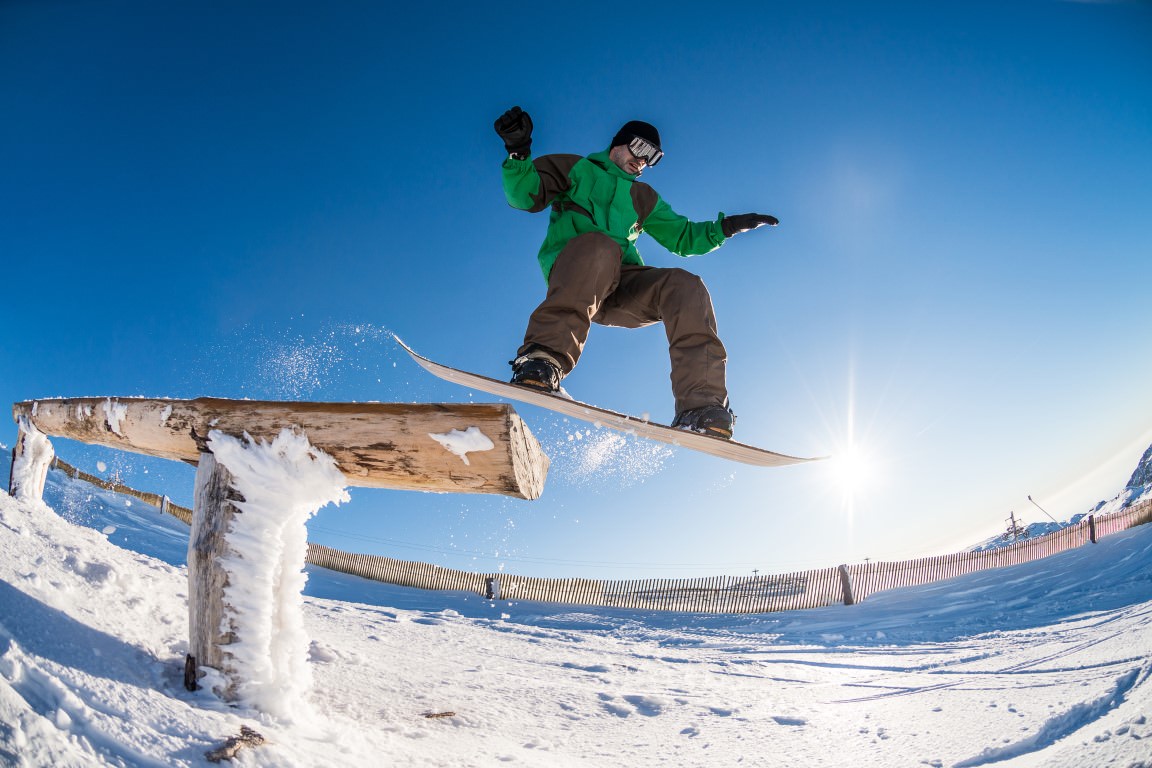
But you can jib anything from a barrel to a car, a fallen log to a bit of tubing, an upturned snowboard to a rooftop or a wall to a stair railing. It’s about creativity, so hit whatever you want, although we will not be held responsible for the consequences (to you or your board).
The term ‘jibbing’ came from skateboarding and was adopted by snowboarders to describe similar tricks performed on the slopes. In essence, when you’re jibbing, you’re doing anything that isn’t just riding on snow.
Key Moves and Techniques in Jibbing
Jibbing comes with its own set of skills and tricks to master. Here are some of the most common:
- 50/50 Slide: This is the simplest form of jib. The board is kept flat and slides straight along the feature in the direction you’d usually travel.
- Board Slide: Rotate the board 90 degrees to slide sideways along the obstacle. Can be done frontside (facing the direction of travel) or backside (facing the opposite direction).
- Nose and Tail Slides: Slide along the feature using only the front or back end of the board. Again can be done front or backside.
- Nose and Tail Presses: Here, the rider distributes weight forward or backward, lifting either the nose or tail off the object. It can be done while doing a 50/50 or a board slide.
- Butter: Combination of a nose or tail press whilst spinning on a feature. More on butters here.
- Gap to Jib: This involves jumping onto the feature.
- Bonk: Deliberately tapping your snowboard against a feature as you jump past it. Bonus points for bonking a vertical feature with the flat of your board.
- Lip Slide: Jumping onto a rail or box with the tail of your board hopping over the feature so you land in either a front or back boardslide.
- Blunt Slide: Sliding on the tail of the board while the nose points upwards at an angle back over the feature.
- Nose Blunt: A blunt but in reverse, so sliding on the nose along the feature with the tail pointing up and across it.
- Switch-Ups: Changing from one slide type to another while still on the feature. For instance, transitioning from a 50/50 to a board slide.
- 270 In/Out: Jumping onto a feature (in), or off a feature (out), with a 270 degree spin rather than the easier, and more typical, 90 degrees.
The above tricks require their own set of skills, so it’s worth taking the time to master each. When jibbing practice makes perfect, every fall is a lesson learned and a step closer to nailing it!
Protective Gear for Jibbing
Jibbing involves more risk than standard snowboarding. Not only is there more chance that you will fall, but if you land on a feature, it hurts like hell. The right safety gear will protect you and give you the confidence to try more.
We recommend the following:
- Helmet: You should be wearing a helmet when snowboarding anyway. But this is even more important when jibbing. One whack of the head on a box or rail could end your day, or your life. So lid up!
- Impact Shorts: Specifically designed to protect your coccyx/tailbone, bottom, hips, and thighs. The built-in padding and armor in these key areas absorb the shock from falls and collisions with features while jibbing.
- Knee pads: Protect your knees from impact with the ground or directly with what you are jibbing on. A pair designed for snowboarding offer all day comfort with sturdy coverage.
- Wrist Guards: When jibbing, you’ll find yourself falling in different ways, making it harder to fall safely to protect the wrists. Wrist guards prevent most sprains and fractures by providing extra support and redistributing the force of impact away from the wrist.
- Back Protector: Land on a rail on your back, and you’ll wish you had stayed home. When you start jibbing and jumping, the risk of back injuries, not only from impact with features, increases. So wear one for an extra layer of protection.
- Mouth Guard: Often overlooked, the mouth guard will protect your teeth and help reduce the chance of biting your tongue. They also decrease the risk of concussion during a fall and help stop you from clenching your teeth, meaning you will be a more relaxed jibster.
Step-by-Step Guide to Your First Jib
Learning to jib is daunting, as a fall on a rail or box hurts a lot more than on the snow. But with the right approach, you’ll be jibbing in no time. Here’s a step-by-step guide to your first 50/50 jib:
- Build a Foundation: Before trying to jib, make sure you are comfortable with basic snowboarding skills. You should be able to turn, stop, and ride with confidence on all pistes and know how to ollie.
- Start Small: Choose a small, low-to-the-ground feature for your first jib. A wide, flat box is ideal.
- Approach Straight: For a 50/50 you just need to ride straight across the box. So approach it straight on. Avoid scrubbing speed just before the box as that can put you at an angle.
- Speed is your Friend: Riding a box slowly is harder than doing it quickly because your board might stick, causing a fall. Obviously, a controlled speed is required, but as a rule of thumb, ride the speed you would if it was snow.
- Stay Centered: Keep your weight centered over your board or slightly forward. Bend your knees, look straight ahead and avoid leaning backwards.
- Ollie Out: Most flat boxes end with a little drop, so pop off to avoid tipping forward. If you are going fast enough, there is no need to ollie out.
Mastering Balance and Control in Jibbing
Balance and control are the bread and butter of jibbing. Here’s how to master them:
- Flat Practice: Spend time on your board on the flat and get used to nose and tail presses and popping between them. This can be done at home on some old carpet or a rug.
- Core Strength: A strong core makes jibbing easier. So develop your core strength through exercises like planks, crunches, and yoga.
- Balance Drills: Incorporate balance exercises, such as standing on one foot or using a balance board, into your training routine.
- Home Practice: Set up a box or rail in your garden and practice popping on and off, balancing on your nose and tail etc. Companies like Snowboard Addiction offer jib training setups.
Common Jibbing Mistakes and How to Avoid Them
Even seasoned snowboarders get it wrong when jibbing – I have frequently enough to have now “retired” from rails three times! Here are some common mistakes and how to avoid them:
- Leaning Back: This usually results in slipping out and falling backward. Keep your weight centered or slightly forward, no different to normal snowboarding.
- Approaching Too Slowly: This can cause you to stick and fall. Make sure you have enough speed to clear the feature. The slower you go, the tougher it will be.
- Looking Down: Glancing at your board or the feature, rather than looking ahead, is a shortcut to stacking it.
- Not Committing: Half-hearted attempts often result in falls. Commit to hitting the feature and see it through.
- Tensing Up: As with any snowboarding, if you are tense you are more likely to fall.
- Bend Those Knees: Standing too straight rather than with your knees bent will often cause the board to deviate from a straight line, which is a recipe for a jibbing fail.
Tips and Tricks for Advanced Jibbing Techniques
Once you’ve mastered the basics of jibbing, you can start getting creative and really expressing yourself. Here are some tips:
- Mix It Up: Combine different moves, like a 50/50 slide to a nose press which butters around to a noseslide. Ollie a 270 out, and you’ll feel like you own the mountain.
- Grab: Adding a grab to any jib or a jump in/out increases the difficulty and style.
- Leave the Park: Take your jibbing mountain wide to hit natural features like tree stumps or manmade structures such as buildings.
- Go Urban: Take your board out in a snowy street and get creative, jibbing on everything from walls and railings to benches and bins.
Conclusion
Jibbing will improve your snowboarding skills and enable you to express your creativity on the slopes and streets. It is not easy to master, so consider jibbing as a journey rather than a destination. With patience, practice, and persistence, you’ll find there is far more to snowboarding than piste and powder.