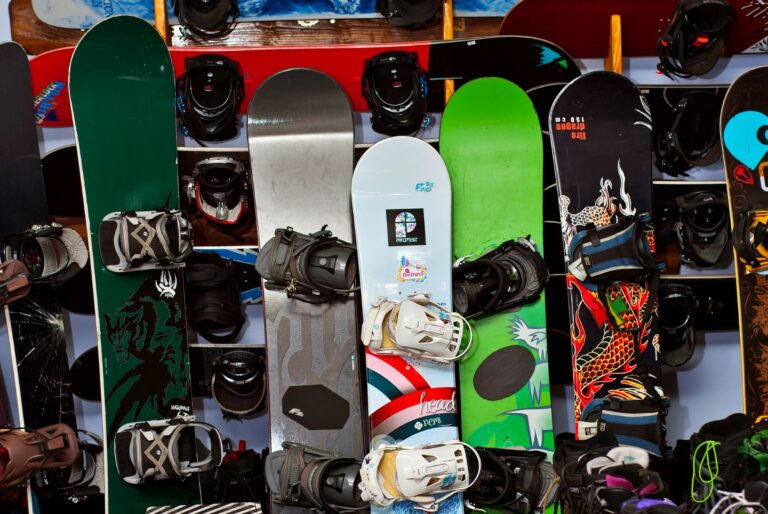
Basic Slowing and Stopping Terminology
If you are reading this, I assume you are very new to snowboarding. As the alternative, that you are currently heading downhill and need to find out how to stop, is rather worrying. So we’ll begin with basic snowboarding terminology used in this article:
- Heelside: Refers to the side of the snowboard where your heels rest. When you lean back on your heels, you’re making a “heelside” stop or turn.
- Toeside: The opposite side of the board where your toes are. When you lean forward onto your toes, you’re making a “toeside” stop or turn.
- Tip: The front end of your snowboard, the part that is leading when you’re riding downhill.
- Tail: The rear of your snowboard that follows behind as you descend.
- Edge: The thin, sharpened sides of your snowboard that cut into the snow when turning and stopping. You have toe and heel edges.
- Stance: The position of your feet strapped to the board.
- Lead/Front Foot: This refers to the foot that is strapped at the front of the snowboard which you lead with when moving downhill.
- Rear/Back Foot: The foot strapped into the rear position on your snowboard.
- Regular: A stance where your left foot leads, and right is at the back. This is most common.
- Goofy: The opposite of regular, your right foot leads and your left foot is at the rear.
- Fall Line: The most direct route downhill. It’s the path water would flow or a ball would roll. Understanding the fall line is crucial for controlling speed.
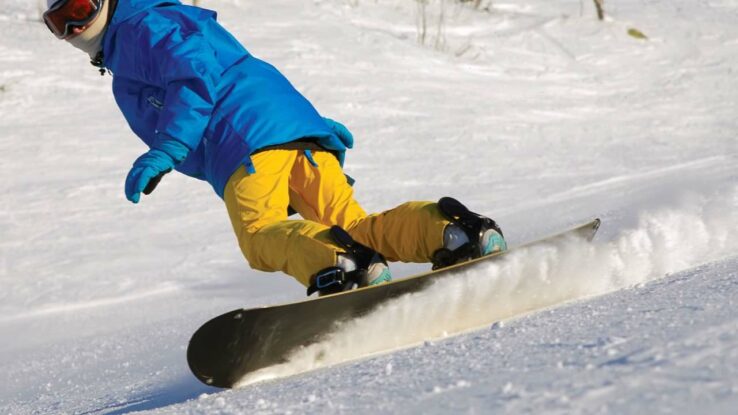
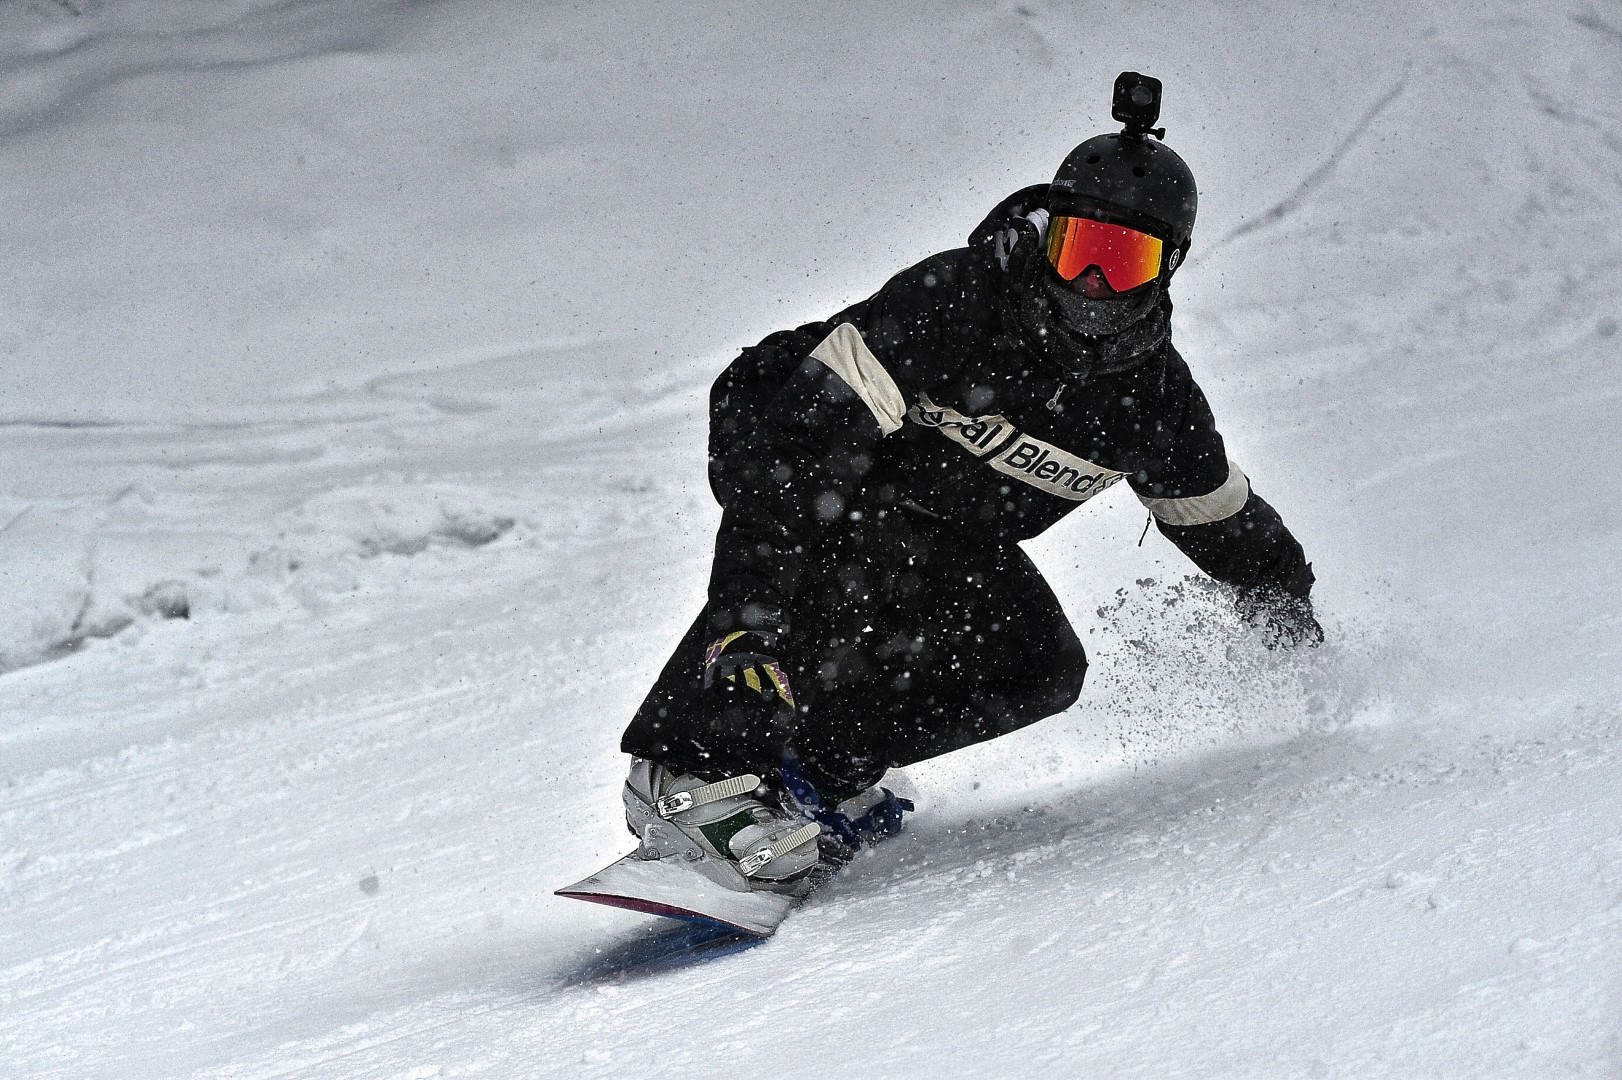
Stopping on Your Heel Edge
Excluding falling (which doesn’t always work and often hurts), the easiest way to stop is heelside braking. It’s one of the first things you’ll learn as a snowboarder:
- Position yourself: While sliding forward, keep your knees slightly bent and weight roughly 60% over your front foot.
- Initiate the stop: Now twist your shoulders to face downhill, your hips and the board will naturally follow. Where you point your lead arm your shoulders, hips and board follow.
- Squat: Bend your knees more and pull your hips backwards while keeping your back straight. Almost as if you’re about to sit down.
- Dig your heels in: With your body facing down the fall line, and board at a right angle to the slope, push your heels into the snow.
- Increase the angle: As you get comfortable, gradually push your heels in more. The sharper the angle against the slope, the more your snowboard edge bites in and the quicker you’ll stop.
- Top tip: Beginners often put their weight onto the back foot and push it forward, forcing the back heel into the snow to stop. This works, but it is more tiring and less controlled than the above. While a valid stopping technique, it is a bad habit to get into.
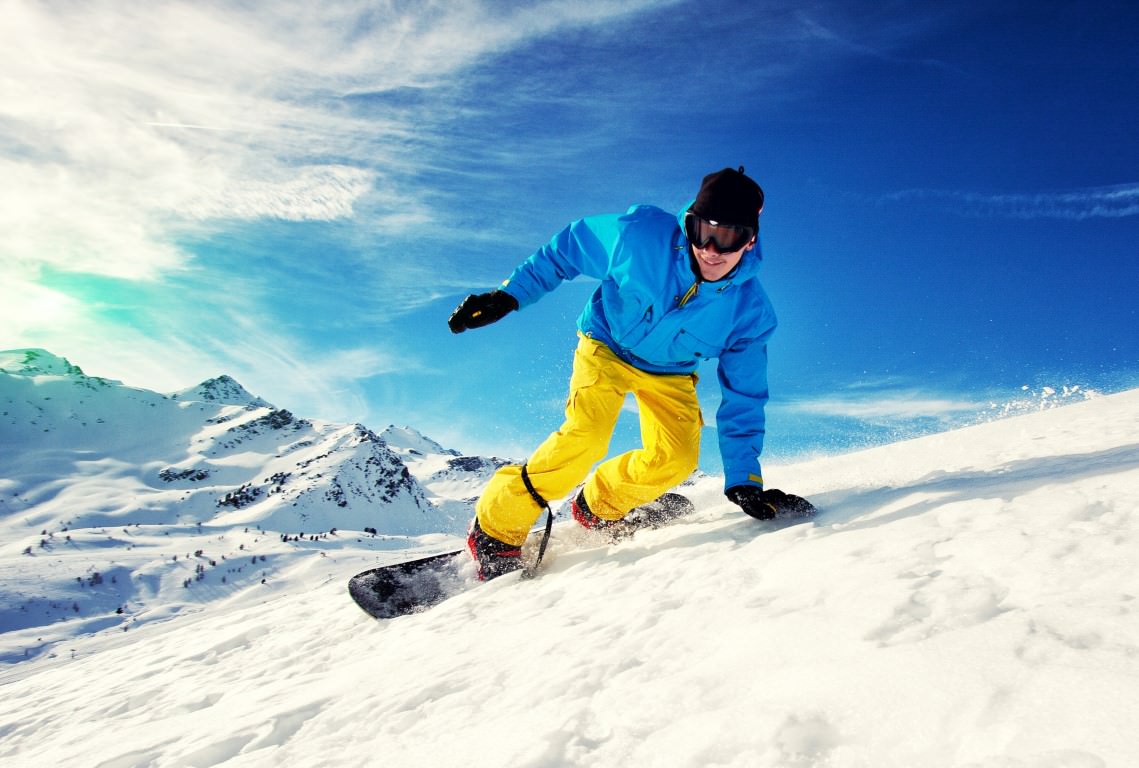
Stopping on Your Toe Edge
The opposite is toeside braking. While similar, most people find it more difficult as you’re facing uphill. Psychologically this is harder as the bigger downhill drop is behind you.
- Preparation: Heading downhill you should have around 60% of your weight on the front foot and your knees slightly bent.
- Get in position: Twist your shoulders to face uphill. Your hips and the board will follow. Pointing with your lead arm will initiate the movement.
- Body movement: With the board running across the fall line, with you facing uphill, bend your knees more, lean into your toes and move your knees and hips forward. This pushes your shins into the front of your boots, and you’ll come onto the toe edge.
- Engage your toe edge: Increase this movement to press down into your toes and fully engage the edge in the snow, initiating braking to come to a stop.
- Increase the angle: As you become used to the movement, do it more aggressively. If you push your toe edge in at a steeper angle, you’ll stop more quickly.
- Top tip: Beginners often bend forward at the waist to try to put their weight over the toeside. This doesn’t work as your edge won’t properly engage. Instead, bend your knees more to force them and your hips forward.
Learning the J-Turn and S-Turn: Key Moves to Slow Down on a Snowboard
J-turns and S-turns provide a controlled descent. With each turn, you slow down and can come to a complete stop if you prefer, although it is easier to maintain momentum.
The heel and toeside braking above are the nuts and bolts of J and S-turns. To turn rather than stop, apply the heel or toe pressure before your board is at a right angle to the slope. You do this with less pressure on the edge so it turns rather than digs in.
- J-turn: Whether you are traversing across a slope or heading straight downhill, rotate your upper body in the direction you wish to turn and engage your upslope edge into the snow. It is less abrupt toe or heelside braking while maintaining forward momentum.
- S-turn: Next, you’ll alternate between toeside and heelside braking turns to zig-zag down the slope. At the end of a heelside J-turn, you need to disengage the edge and transition to a flat board. Then twist your upper body over the toes to initiate a toeside J-turn.
- Top tip: During the transition between heel and toeside, your speed increases and you are most at risk of catching an edge. To avoid this, transition between edges when your board is pointing almost straight down the fall line. When you engage your downslope edge at an angle opposing your momentum, you’ll catch an edge. Ouch.
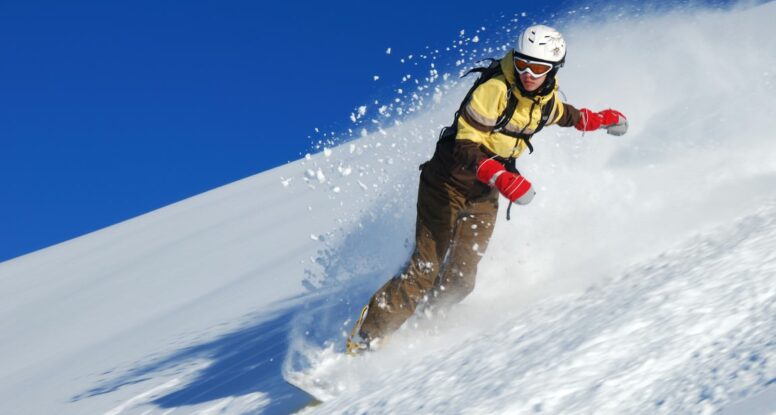
Advanced Stopping Techniques: The Powerslide Stop
Next up is the powerslide, a more aggressive form of braking.
- Increase your speed: You need a moderate amount of speed to powerslide.
- Get in position: Quickly rotate your upper body so your hips and the board follow and you’re at 90 degrees to the fall line. Keep your weight slightly on the uphill side, to avoid catching the downslope edge. This is similar but more aggressive than initiating a turn.
- Bang in the edge: Abruptly dig the uphill edge into the snow, sliding sideways, spraying anyone in front of you with snow.
- The halt: As your speed drops, decrease the pressure on the upslope edge to come to a swift but controlled stop.
- Top tips: Steps two and three are almost simultaneous. The longer the gap between them the more chance you’ll fall. If you feel your edge jumping, or like it does not want to grip, then bend your knees more.
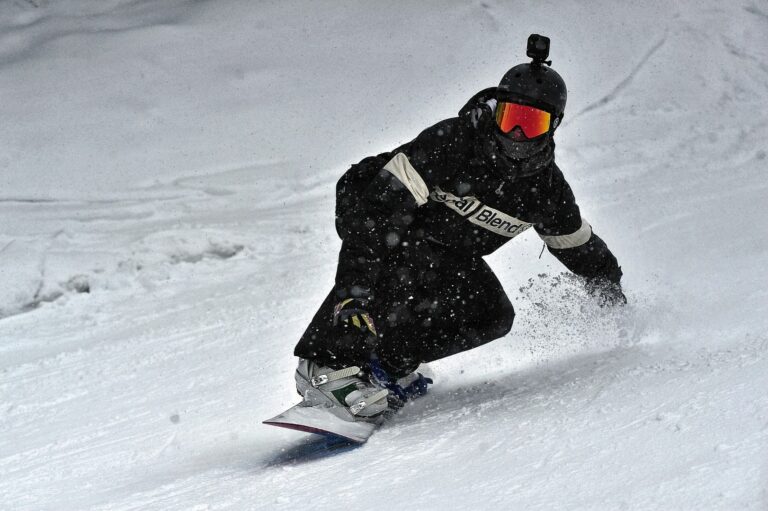
Emergency Stops: Quick Techniques for Immediate Snowboard Braking
Sometimes, you need to stop instantly. This can be done using a very aggressive version of the powerslide. It takes practice and is more difficult the faster you are going, the icier the conditions and the steeper the slope.
However, there is also an emergency braking option. By utilizing the previously mentioned bad habit of stopping by swinging your back foot, you can stop or scrub speed very quickly. It is also how you do an impressive powder slash.
- Heelside: To emergency stop heelside, suddenly swing your back foot forward, opening your body to face downhill while aggressively digging the heel edge in.
- Toeside: The opposite of the above and harder to master. Abruptly swing your backfoot backwards while twisting your upper body to look uphill and aggressively engaging the toe edge.
- Top Tips: The faster the rotation and harder you dig in the edge, the quicker you’ll stop. Use sparingly as it is tiring and can cause thigh (toeside) and hamstring (heelside) strains.
Fall Line Awareness and Speed Control on a Snowboard
Fall line awareness is about looking ahead and understanding the slope to use it to control your speed.
- Identify the fall line: It’s the path water would naturally take down the slope. If you are moving straight down it you’ll accelerate. But when traversing at 90 degrees or more you’ll slow down.
- Navigate: By moving across the fall line rather than directly down it, you can control your speed. The angle varies depending on steepness, conditions, your ability, how busy it is and how you feel.
- Use turns: Use J and S-turns to shed speed and turn when you run out of slope.
- Top tip: Braking is tiring, as is turning all the time. So cut across a slope at an angle where you can maintain a comfortable pace without accelerating or needing to brake. When you run out of space, smoothly turn without braking to maintain speed and preserve your energy.
Adapting Your Stopping Technique to Different Snow Conditions
Unsurprisingly different snow conditions call for different stopping techniques:
- Fresh groomers: In perfect corduroy slopes, use your edges to slow down. Slipped/braking turns are usually fine
- Hard-packed snow or ice: In these conditions, you need to engage your edges more deeply for the same effect and slipped/braking turns may not control your speed.
- Soft, powdery snow: You’ll experience more resistance as snow gathers under your board. Use the flat of your board to brake by angling the base across the fall line to gather snow beneath it and slow you down.
- Soft, slushy snow: Similar to powder, but the slush grips more, so you slide slower with less need to brake and turn.
- Top tip: Snow conditions constantly change. Be aware that going from sun to shade can impact the snow and that lower slopes may have very different conditions to higher ones. If you are not enjoying the conditions, elsewhere may be better.
Conclusion
Slowing down and stopping are the first snowboarding skills to master and lead directly to turning a snowboard. Hopefully, this will give you a head start when you hit the slopes. And if you were reading this to learn how to stop while bombing down a slope, then I hope you are a fast reader!