Snowboard Binding Angle Types
A snowboard binding angle is the angle the binding makes on the snowboard in relation to a perpendicular line running between the heelside and toeside edges. Depending on your skill level, riding style and binding type, there are different stances you can choose from. Angles usually vary three degrees at a time and can be as extreme as 30 degrees. Most riders set their front angle between +15-21 degrees. This can be customized to what feels comfortable and less restrictive to the knee.
Beginner Stance
A beginner stance puts an emphasis on figuring out what your lead foot will be. If you are unsure what foot is your front foot, a common stance is the Duck Stance. If you know which foot you want to have forward, you can go with a Positive/Zero stance
Duck Stance is where each binding is offset from zero with the same angle or very similar. Examples of this would be +15 / -15, or +18 / -12. It’s any combination where your feet angle away from each other, making it easier to ride with either foot forward when trying to figure out your lead foot.
Positive/Zero Stance keeps your lead foot angles out and your back foot at a zero angle. An example of this would be +15 / 0 or +18 / 0. This helps with easier front leg rotation and is more comfortable for your lead knee.
Freestyle Stance
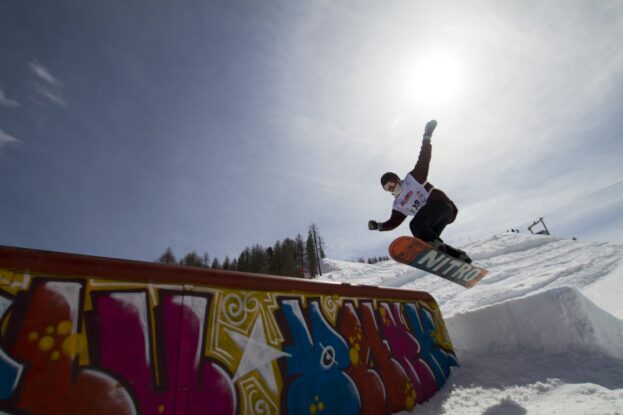
The freestyle discipline regularly requires riders to ride switched and stomp some pretty big landings. For this, you want to have a strong, stable stance that doesn’t put pressure on a rider’s knees. A mirrored duck stance or varied duck stance like the beginner stance is the norm. Angles of +15 / -15, +18 / -9 or +15 / -6 can be used.
All-Mountain Stance
All-Mountain riders have an interest in riding anything and everything. From park lines to steep double black diamond runs, there is nothing these riders don’t like doing. With that in mind, there are two setups you can choose from, Duck Stance or a Slightly Positive stance.
Duck Stance
An All-Mountain duck stance will have a smaller angle in the back and can be tuned depending on how much you ride switched. +15 / -6, +18 / -6 or +15 / -3 are some examples.
Slightly Positive Stance
If you don’t plan to ride much switched, then you can run a slightly positive stance. This stance helps provide better turning and still provides enough stability if you choose to do a little bit of freestyle. +18 / +3 is a good starting point
Freeride Stance
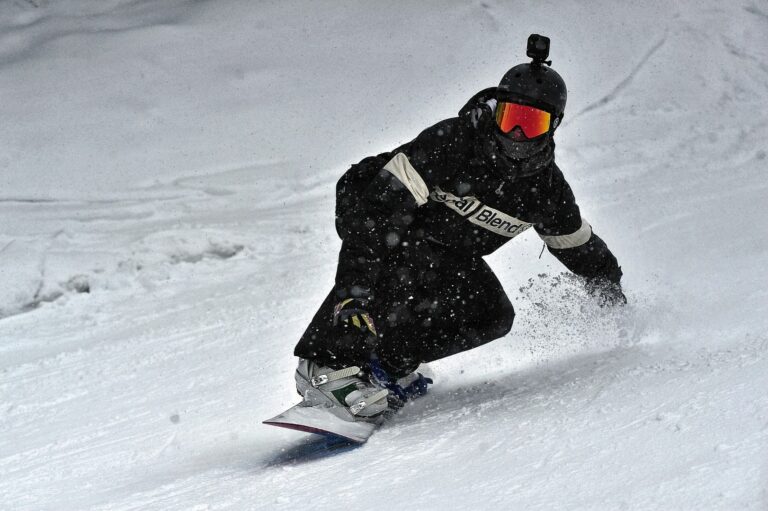
A freeride stance, also known as positive/positive is for riders that choose to ride in one direction and are after control and carving performance. This stance helps provide better power and more aggressive edge to edge transition. Some examples of this stance are +15 / +3, +18 / +6, +21 / +6.
A stance like this does take time to get used to as it affects your balance however, when you get comfortable with it, the performance benefits are well worth it.
How to Choose the Right Binding Angle as a Beginner Snowboarder
As a beginner, you want to find binding angles that allow you freedom of movement without putting too much rotational pressure on the knees. You want a stance that provides excellent balance and forgiveness.
The beginner stance outlined above is a great place to start depending on if you know what your lead foot is. Setting your front angle to +15 degrees is an ideal starting point. Place your back angle at either 0 or -12, depending on if you know what your lead foot will be.
The Impact of Binding Angles on Snowboarding Performance
Depending on your riding style and discipline, each stance provides performance advantages over others. At the end of the day, it mainly comes down to your personal preference though.
A Freestyle Stance allows for ideal control when riding regular or switched and provides a strong and stable athletic platform for landing big hits. This stance is also the most natural to the way we walk and stand, so it tends to be the most comfortable.
The Freeride Stance is all about aggressive turning performance. By aligning your knees in the same direction, you can dive into turns faster, and attain powerful balance in steeper terrain.
An All-Mountain Stance attempts to create a balance between the previous two. For the most part, you will get pretty good performance from this stance, and you can tailor the back angle depending on how much switched riding you do.
Tips and Tricks for Setting Your Angles
Trying to set up your angles can be a little tricky, especially if you don’t have a ski slope nearby to test it immediately. There is a great way to set it up at home and test it in your living room.
Standing on the floor, make a straight line with some rope or place something long and straight on the ground. Step on the item and then jump and land normally. Can you see how much your feet angle out? If you can measure or eyeball this angle, this will be a great starting point for your lead foot.
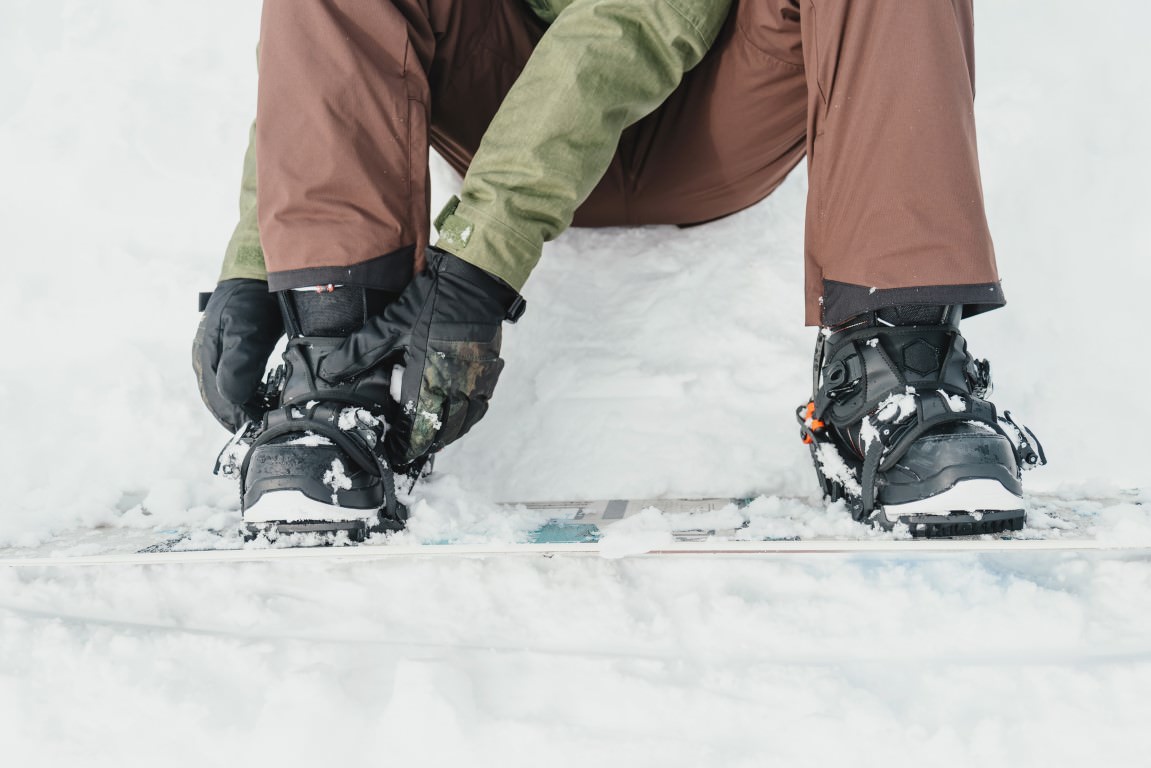
Mount your snowboard bindings at these angles but also take into consideration your riding style for the back angle. Put on your snowboard boots, strap on your snowboard and see how the angles feel. You can mess around with each angle to see what feels more comfortable and less restrictive when rotating, bending and leaning. If you’re going to change your angles, do it in steps of three degrees so the change isn’t too extreme.
You want to have an angle that gives you enough turning performance but still keeps your knee over your foot when it’s bent and you’re not turning. Once you find a suitable stance, go ride and see how it feels. Take a screwdriver with you and change the angles during your day, noting how your riding changes when you adjust the angles.
What are the Effects of Wrong Snowboard Binding Angles?
When your snowboard angles are set up correctly, you can feel how well everything moves and performs. If they are not set up correctly, the angles can lead to limited movement, reduced performance and even pain in your lower body.
Having too little of an angle on your lead foot can put pressure on your knee when turning. It tends to restrict the rotational ability of your lead leg leading to decreased turning performance and a sore knee. Having too much of a lead foot angle can strain your front hip and groin, making it awkward and could lead to injury.
If your angles are not suited to your riding style or ability level, this can also affect your performance, balance and riding experience. If you’re looking to experiment with your binding angles, bring a screwdriver with you to the resort and adjust them during the day.
Is There a Universal Snowboard Binding Angle Suitable for All?
There is definitely not a universal snowboarding angle that is suitable for all. One of the most common stances would be a slight duck stance with the front angle between +15-21 degrees. This seems to satisfy a lot of riders due to our anatomy and natural duck stance.
Everyone rides a little differently, so it’s important to find the binding angles that feel the most comfortable and are in line with your riding style and ability level.
Does Height and Weight Affect Snowboard Binding Angles?
Rider height and weight will not affect the snowboard binding angle you choose. You are free to set up your snowboard however you like. It’s more important that your snowboard fits you! These measurements will affect how wide your stance will be, though.
What Tools Do I Need to Adjust My Snowboard Binding Angles?
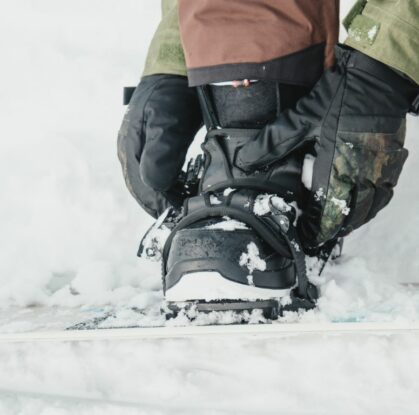
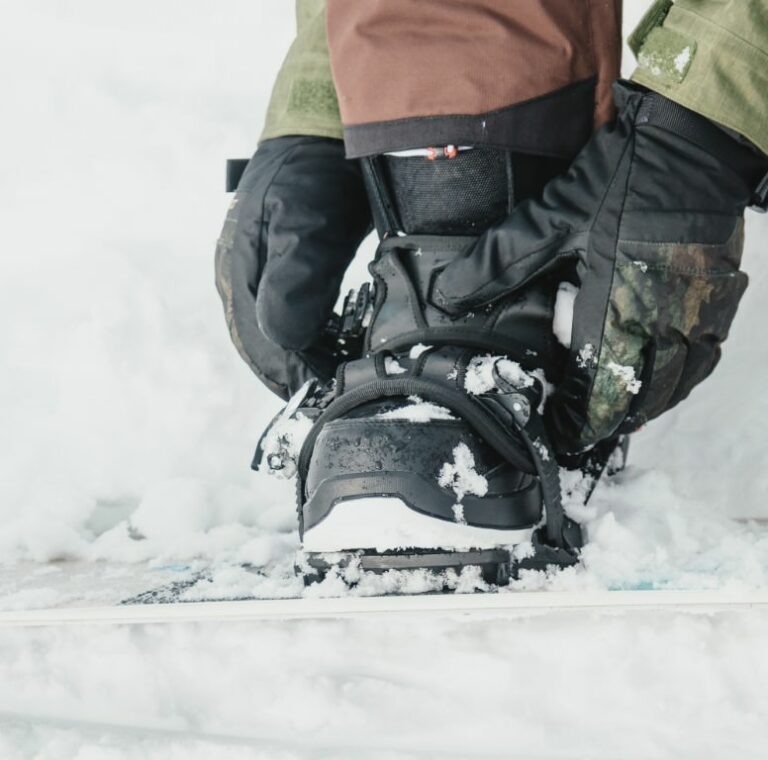
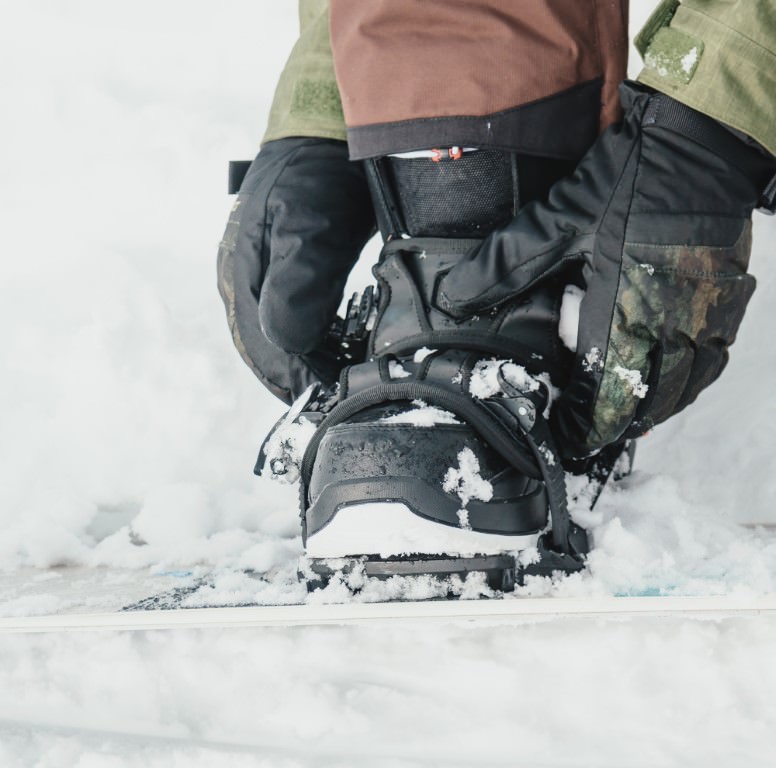
The only tool you will need to adjust the angle of your snowboard bindings will be a Phillips screwdriver. Each binding has a baseplate with angle markers that are usually written in three degree increments. Loosen or remove your binding from the snowboard, rotate the baseplate to the desired angle and remount your bindings.
Should I Change My Binding Angles Based on Snow Conditions?
If you only have one snowboard setup, the only time I would recommend changing the binding angels would be if you’re planning on practicing one discipline on a specific day. Changing the angles often could affect how comfortable you are with the snowboard as it does take some time to get used to after changing the angles. You could also prematurely wear down your mounting hardware and risk cross threading your snowboard the more you adjust the angles.
The more ideal scenario is having two snowboard setups. Usually, one for freestyle and one for freeride. This allows you to get comfortable with each snowboard quickly, and you’ll always know what to expect. Although there is nothing really wrong with changing the angles to the conditions, it may take a bit of time to become accustomed to it.
Conclusion
Selecting the most suitable binding angles on your snowboard isn’t a difficult task to do, and it usually comes down to a mixture of rider style and personal preference. Taking a screwdriver to the slopes and changing the angle during the day will open your eyes to how different angles can drastically change your riding.
Honing in on the best performance with any snowboard setup does take time, patience and a bit of decision making. Don’t think too much into it, though. Once you find your suitable binding angles, set it, forget it and go shred.
