Essential Snowboarding Gear: Board, Bindings, and Boots
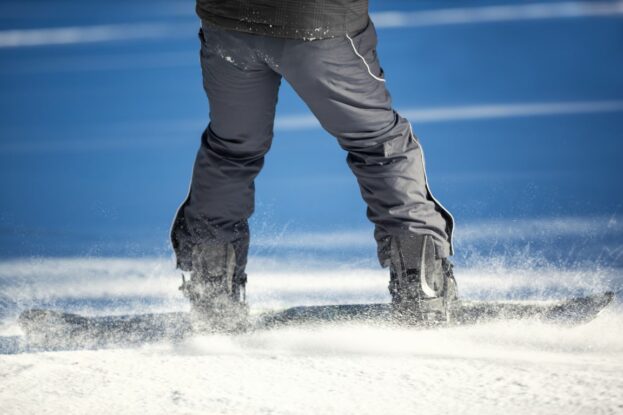
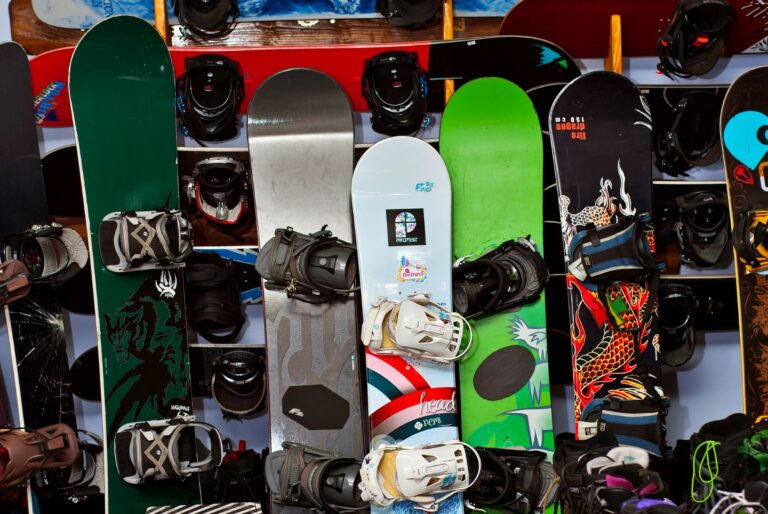
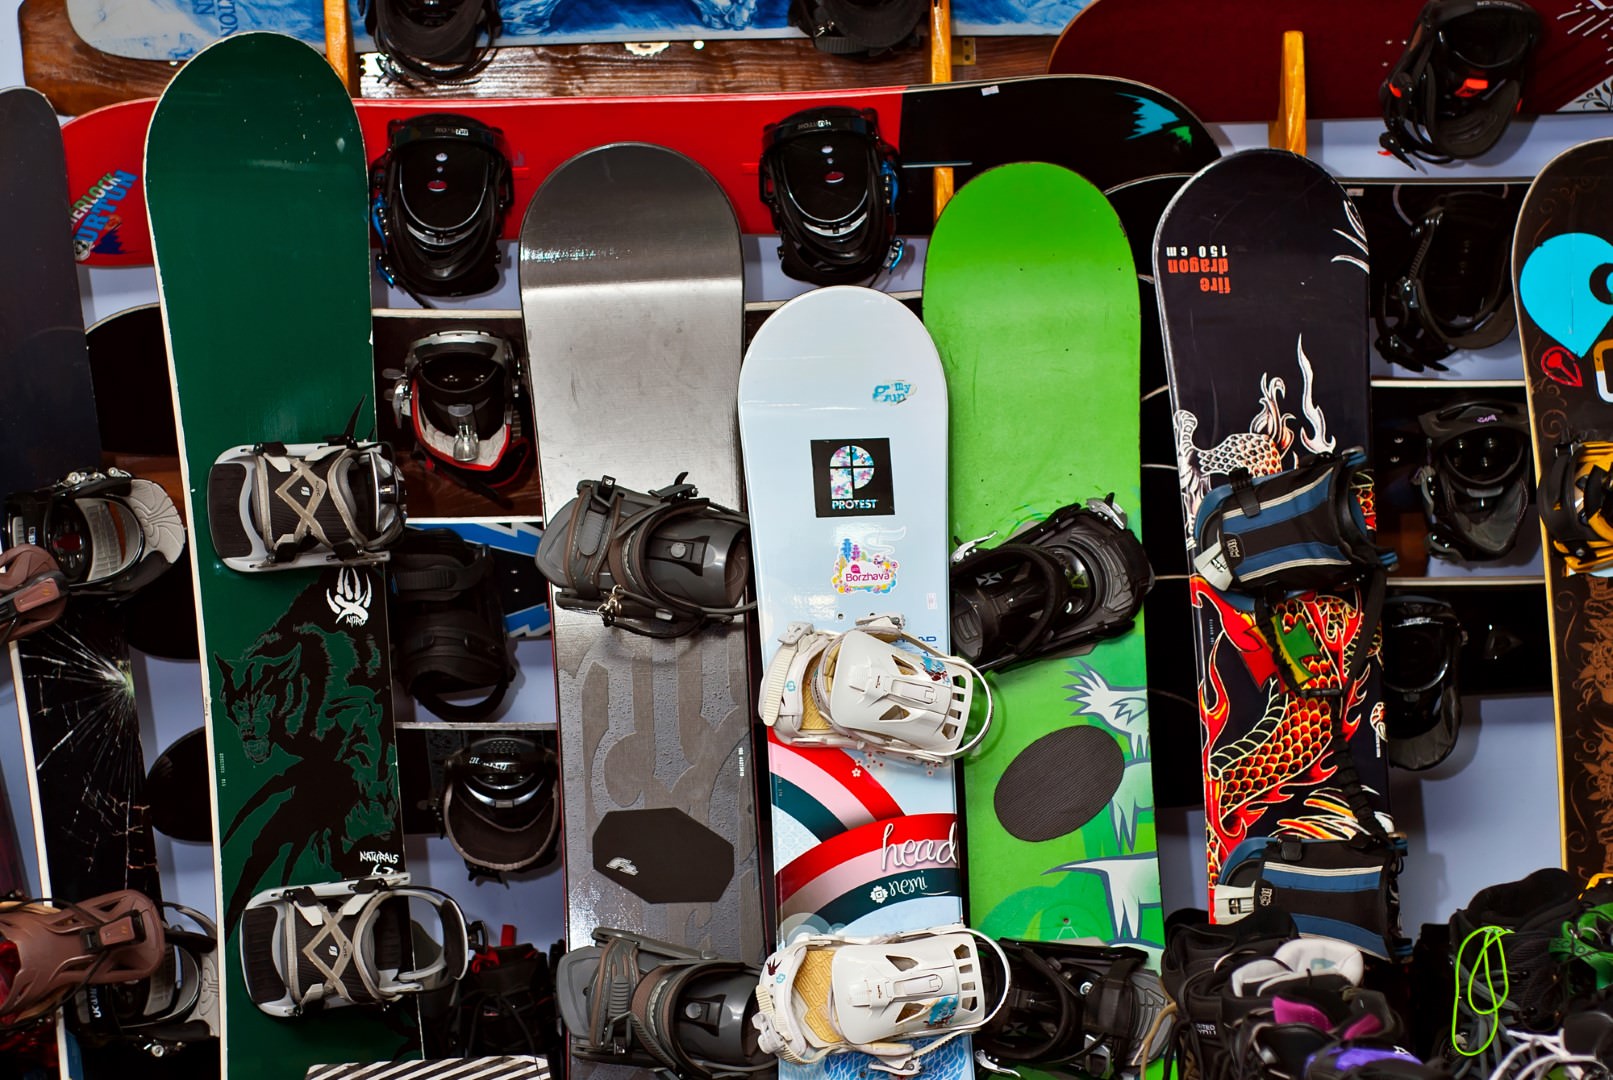
It will be a rather rubbish trip if you forget one of the holy snowboard trinity of board, bindings and boots. These are the absolute fundamentals.
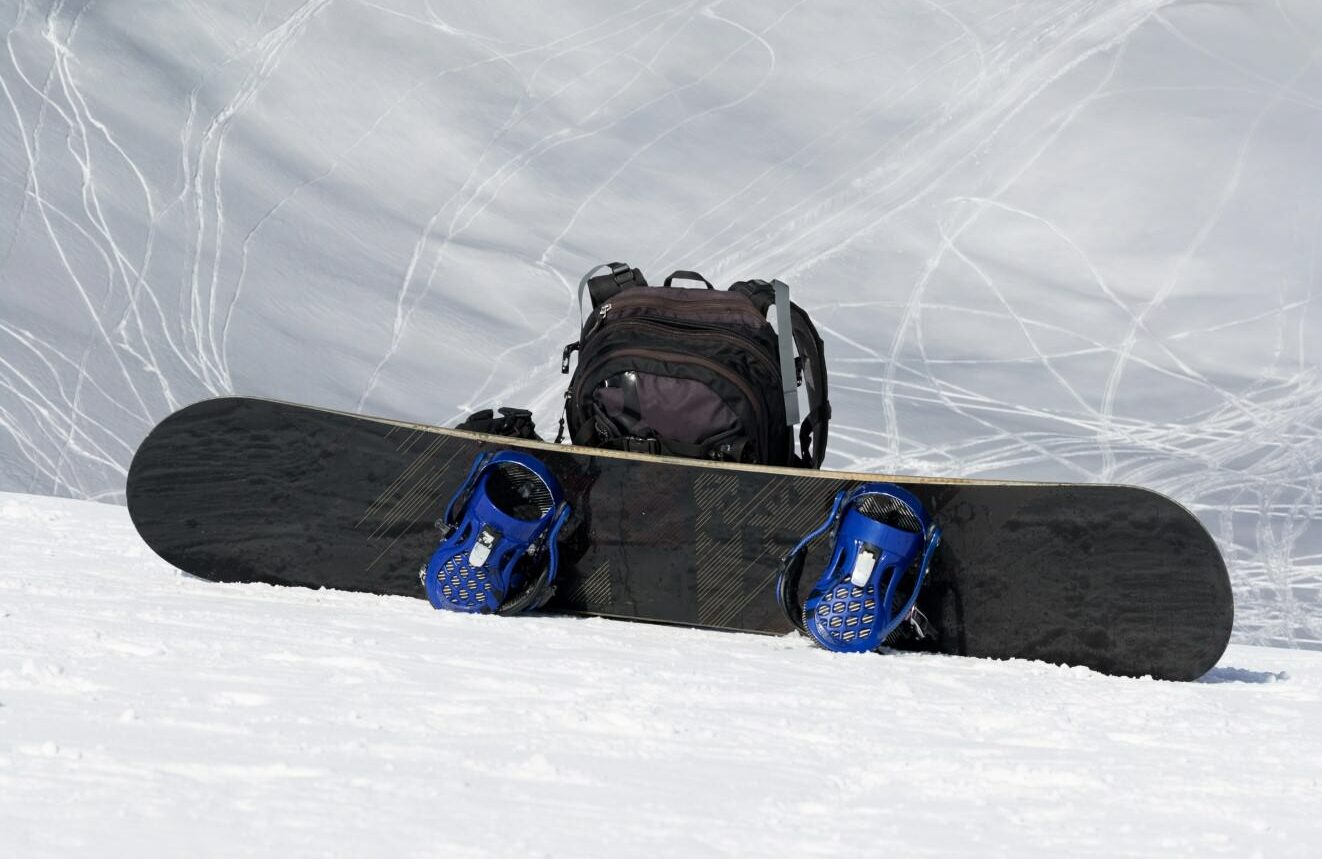
- Snowboard: Opt for a board suitable to your weight, ability level and riding style.
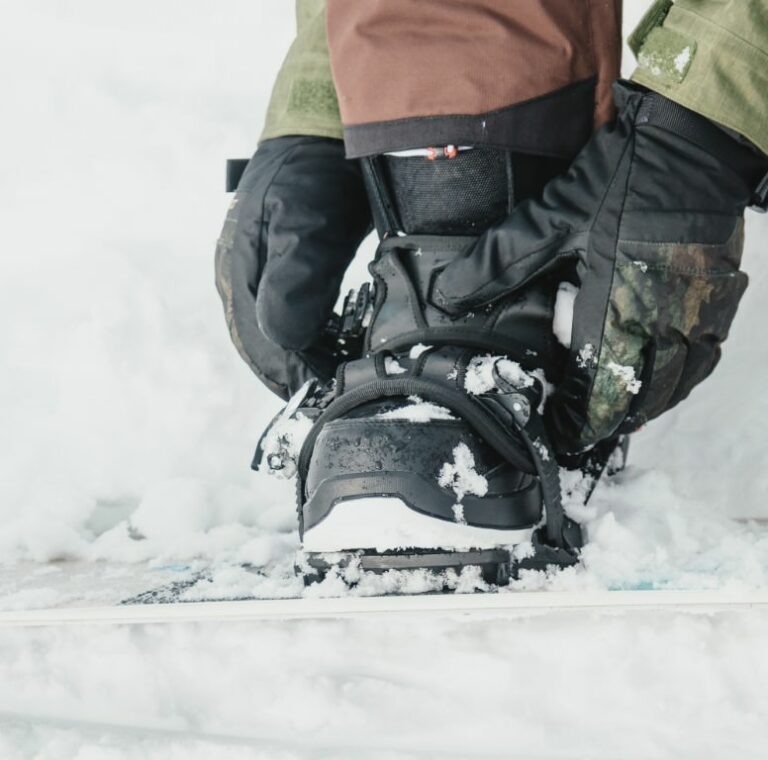
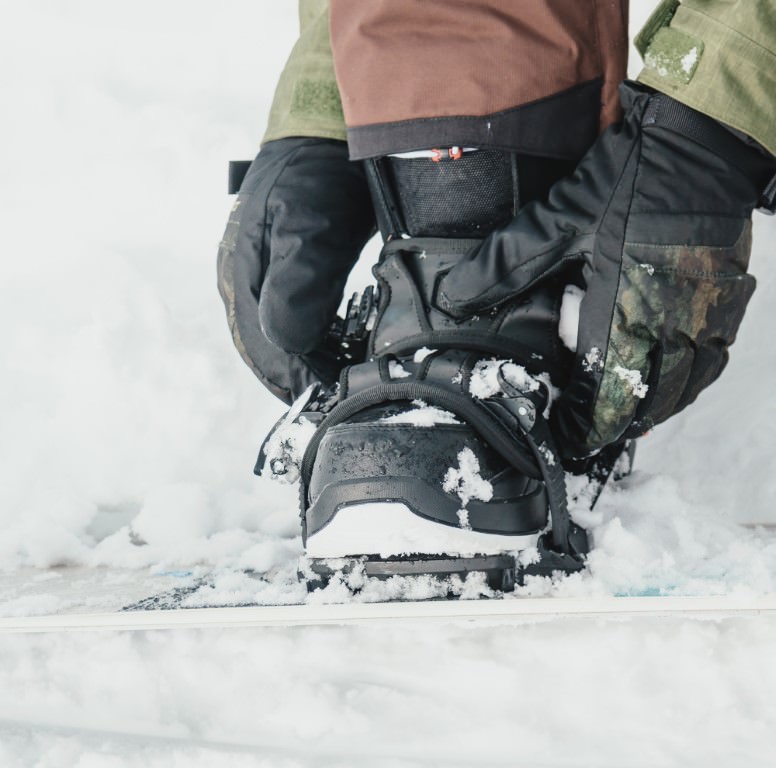
- Bindings: Your link between board and boots, the bindings must be compatible with your board’s fixing pattern. They come in small to large sizes and soft to stiff flex.
- Boots: Arguably the most important of the trinity. Your boots should feel tighter than normal shoes offering a snug, supportive, and comfortable fit with no heel lift when rocking onto your toes. Boots come with different flex ratings and lacing systems.
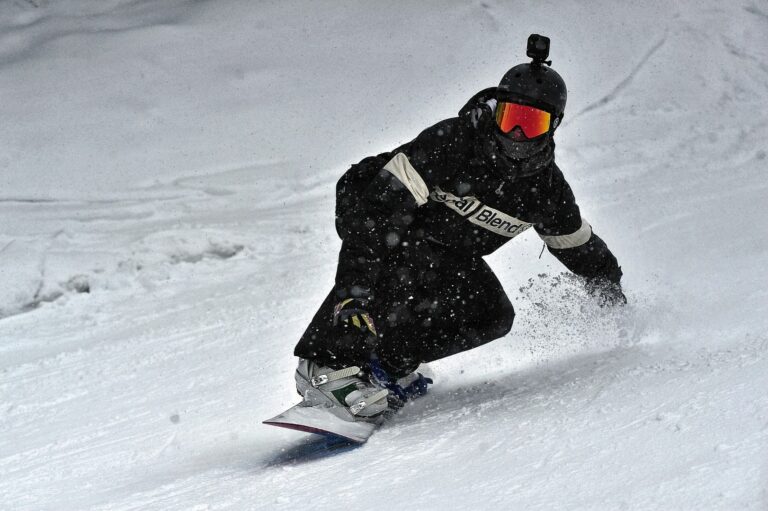
Protective Gear: Helmets, Goggles, and Padding
Don’t overlook protective gear – it’s vital for your safety. And avoiding bumps, bruises and more serious injuries will keep you out on the slopes for longer.
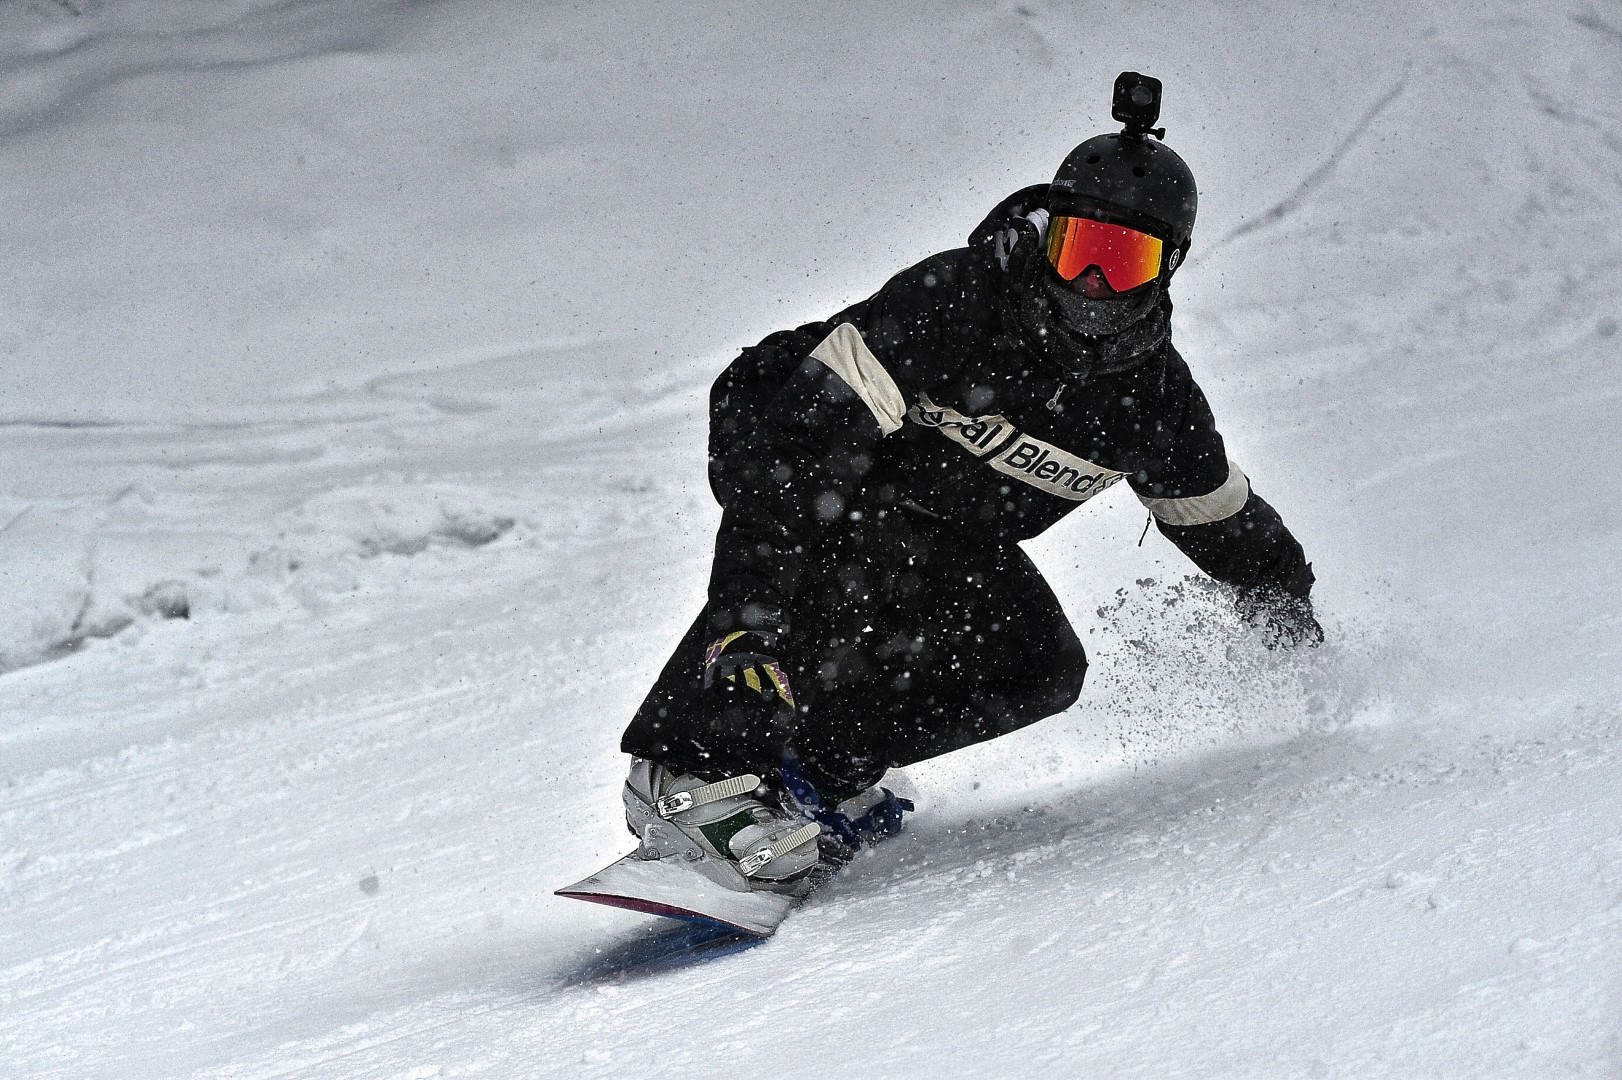
- Helmet: A well-fitted lid is non-negotiable. Not only will it protect your brain but they are more practical and comfortable than a beanie.
- Goggles: Add a quality pair of goggles for clear visibility and UV protection. It’s worth having different goggles, or interchangeable lenses, for poor visibility and sunny days.
- Wrist guards: Beginners and freestylers should wear wrist guards as they stop the most common injuries. Once you are good enough to barely fall it is still worth wearing them as the crashes tend to be more spectacular.
- Crash pants: Padded shorts protect your posterior. I only wear them during dedicated freestyle days, but if you have a bony bottom or prominent coccyx they are a must.
- Knee pads: Knee protection is great for beginners particularly if you are learning in icy conditions. I only tend to wear them on rail days.
- Back protection/full body armor: This is only really required if you have existing injuries you wish to protect or when you start going big in the park.
Dressing for the Slopes: Layering for Snowboarding
When it comes to snowboarding attire, layering is key.
- Base layer: Start with moisture-wicking thermals next to your skin.
- Mid layer: Add an insulating middle layer like a fleece or a light down jacket.
- Outer layer: Top it off with a waterproof and windproof outer jacket, pants and gloves. These can be insulated or shell garments but should be breathable to allow sweat to escape.
- Adjustability: This system allows you to adapt your clothing to the conditions and your exertion levels. For example, you can remove a midlayer in warm weather or add a second one in cold conditions.
The Right Attire: Choosing Quality Snowboarding Clothes
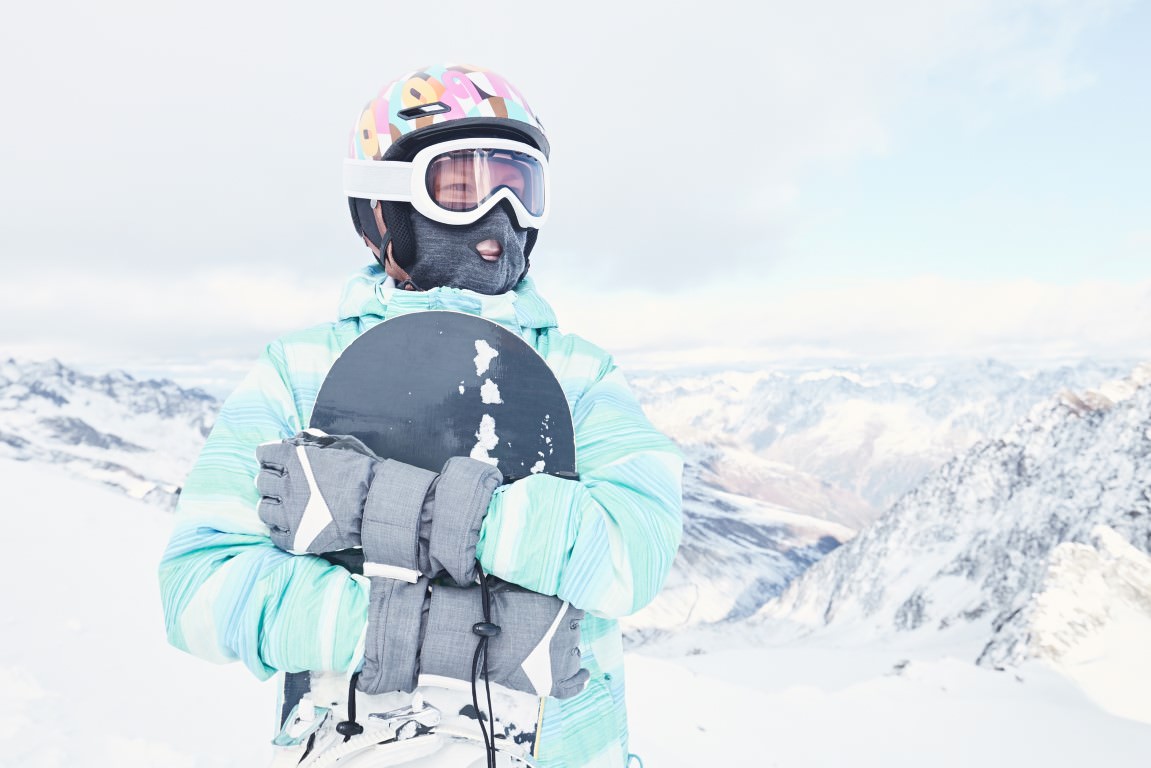
Higher quality ski or snowboard clothing can make a huge difference to your time on the slopes. But it is worth noting that better quality doesn’t have to mean more expensive, and buying from big brands doesn’t always mean superior quality.
For outerwear look at the waterproof and breathability ratings. They are rated in the thousands up to around 30,000 which is the most waterproof and most breathable.
- Under 5,000: Not really suitable for snowboarding except to give it a go in perfect conditions.
- 5,000 to 10,000: Only suitable for good conditions. You’ll get wet if you sit or kneel in the snow, or if it snows for a while. Won’t let your sweat escape if you exert yourself for a prolonged period (which beginners tend to do).
- 10,000 to 15,000: Good for all day riding in variable conditions, and some sitting or kneeling in the snow. Will let sweat escape at moderate exertion levels except in damp conditions.
- 15,000 to 20,000: Fine in most conditions except snowing all day and plenty of time sitting and kneeling in the snow. Will help sweat escape at moderate exertion all day.
- 20,000 to 25,000: Great for all-day, riding whatever the conditions except constant rain. Will enable sweat escape at high exertion levels except in very damp conditions.
- 25,000 to 30,000: Ride all-day in damp snowy conditions with some rain and not get wet. Will enable sweat to escape at high exertion levels whatever the conditions.
- 30,000+: Spend all-day in heavy rain and you’ll stay dry. Sweat will escape at extremely high exertion levels even running up a mountain in the rain.
Keeping Warm: Gloves, Socks, Midlayers and Thermals
Never wear cotton mid or base layers. Instead opt for moisture-wicking materials such as merino, man-made sport materials and fleece etc. Make sure your base layer is close fitting to trap warm air close to the skin and that garments don’t restrict your movement.
Invest in socks designed for skiing and snowboarding, they make a huge difference to comfort. And thicker does not mean warmer – your boots provide all the warmth you need – your socks need to wick moisture away to keep your feet dry and warm.
Food and Hydration: Snacks and Drinks for the Slopes
Staying fueled and hydrated on the slopes is very important. Unless in the backcountry, it is easy to stop at mountain huts whenever you’re thirsty or hungry. But it will get expensive.
To save money pack high-energy snacks like trail mix, energy bars, nuts, dried fruit or sweets/chocolate. Rather than stopping for drinks you can carry an insulated flask with a hot beverage to warm you up.
Personally, I always carry a small plastic water bottle in my pocket to stay hydrated. But some people use a full on hydration pack. However, that is probably overkill for resort riding as you can top up a bottle during lunch or breaks.
Emergency Preparedness: First Aid and Survival Tools
On the piste you are never far from help if you need it. However, it is always worth having some painkillers to hand just in case you need them. Plus carry any prescription medications you may need such as an inhaler etc.
If heading off-piste and into the backcountry a first aid kit is recommended. Include bandages, band-aids, antiseptic wipes, gauze pads and adhesive tape. A multi-tool, whistle, headlamp, survival blanket and a portable phone charger could be lifesavers in unexpected situations.
Tech Essentials: Best Gadgets for Your Snowboarding Trip
With excellent mountain navigation apps such as FatMap available on your smartphone you don’t need too much tech on the mountains. However, a separate GPS device could be good if heading away from managed slopes.
If you want to film your exploits then an action camera and selfie stick are a good addition. Plus a portable power bank can help to keep your gadgets charged.
Some people ride with headphones to listen to music. Others like to share their music with all – whether others want to listen to it or not! – via a speaker.
Personal Care: Sunscreen, Lip Balm, and Skin Protection
The sun is eight to ten percent stronger for every thousand feet of altitude. Which, combined with all the reflective snow, can be very harsh on exposed skin. So pack a high SPF sunscreen, lip balm with sun protection and use a moisturizer in the evenings to prevent dry skin.
Snowboarding Accessories: Wax, Multi-tool, and More
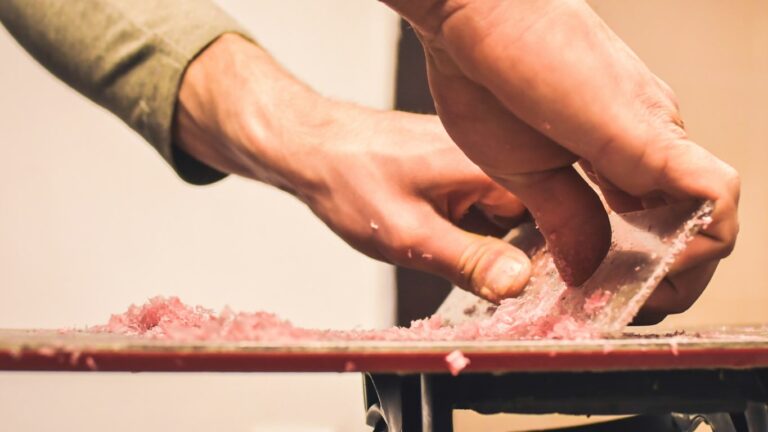
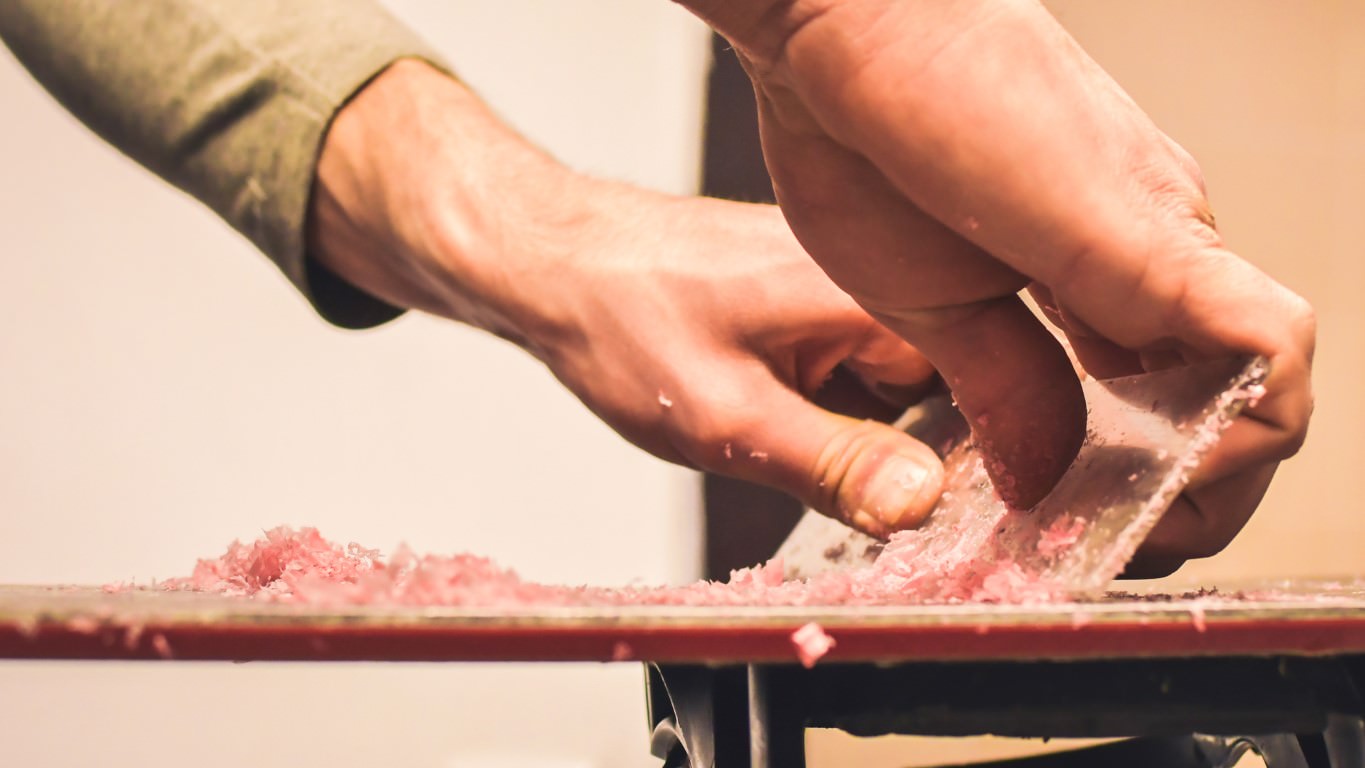
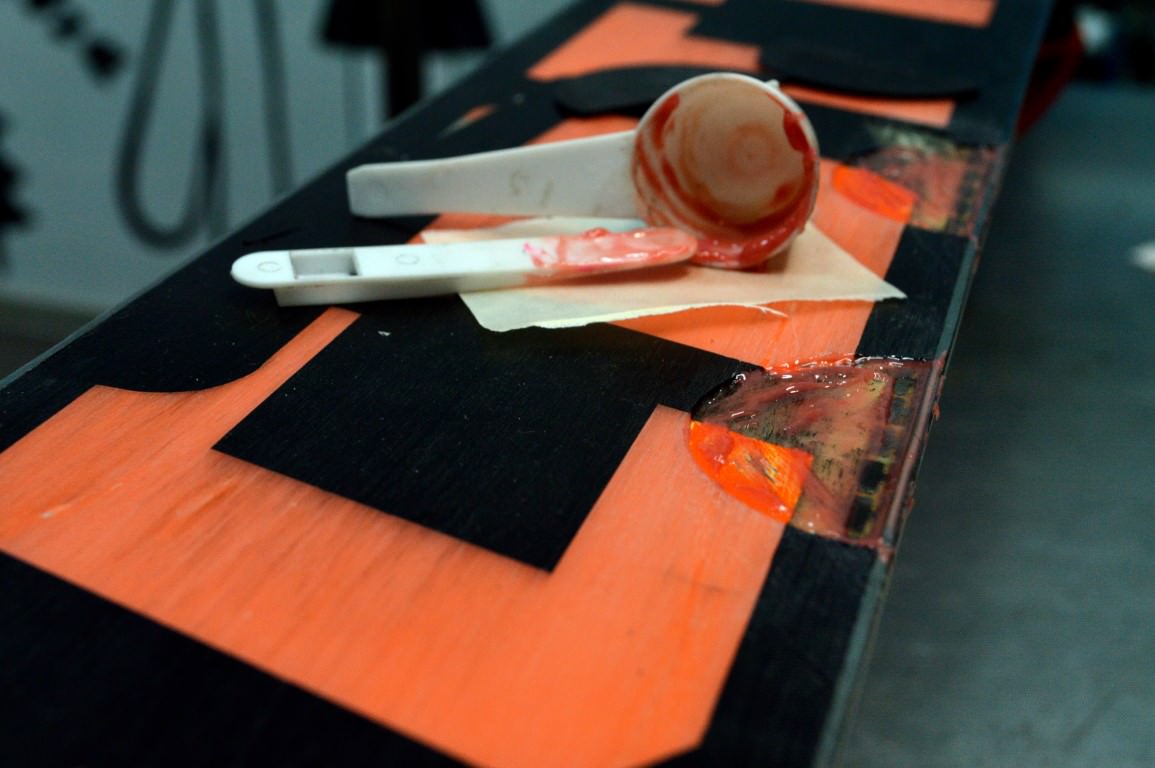
Waxing your board when it starts to dry out and feels a little sticky when riding helps it run faster but increases its longevity. You can take your board in for a service or do it much cheaper yourself, you just need an iron, scraper and wax.
A snowboard multi-tool is handy for making quick adjustments and fixes to your gear. Other useful accessories include a snowboard lock, snowboard edge tuner and avalanche gear (shovel, probe and beacon) if riding outside avalanche controlled areas.
Off-the-Slopes: Casual Wear
Pack comfortable clothes for when you have finished snowboarding. Most mountain accommodation is ferociously warm, but the outside is even colder at night. So bring layers including warm clothing to nip out to bars and restaurants, etc. in the evening.
Some decent footwear with good grip is recommended around resort. Sneakers are generally not a good idea; boots are much better, especially if there is fresh snow. Proper snowboots are only required if you’ll be outside on foot a lot.
Don’t forget your swimwear, as a lot of accommodations have pools, hot tubs and/or saunas. And pack a warm hat and sunglasses, both are useful if eating lunch outside or getting involved in outdoor apres.
Entertainment and Down Time
It gets dark early in the depths of winter, so there are a lot of evening hours to kill. For many people, this is spent socializing over a long meal and/or a few drinks. While having a nap is not unheard of!
If you’re a stay-in kind of person, then take whatever entertainment you enjoy. Be that movies, boxsets, video games, books or board games, it is a chance to do more of what you enjoy – after all you are on vacation!
Packing Tips: Organizing Your Snowboarding Gear Efficiently
I am not the best to advise how to pack or organize your gear. I chuck all of my clothing and kit into a large Dakine High Roller snowboard bag.
The only nod I have towards organization is that I put my normal clothing, base layers, and outerwear into separate plastic bags. This is because my snowboard bag once got soaked along with everything inside. As a bonus, I can quickly find what I need. I sometimes even unpack!
You can pack more efficiently by rolling clothes to save space and using packing cubes. It is generally best to put heavier items at the bottom of luggage and to distribute the weight evenly. With a snowboard bag, put heavier stuff closer to the wheels and lighter gear at the opposite end.
Child-Ready: Special Considerations for Kids on Snowboarding Trips
I have two young boys and have taken them on a few snowboard trips. From technical clothing to equipment to safety gear, they need everything you require. And don’t forget entertainment both while traveling and for the evenings.
Always send them off to ski school with a snack, and be prepared to feed them more often than your budget is happy with. Keeping kids hydrated can be a challenge, but put water in front of them at every opportunity, and they’ll normally do the right thing.
How Do I Store My Snowboarding Gear Safely During Transit?
For safe transit, use a quality snowboard bag with padding to protect your gear. The official advice is to remove the bindings from the board and pack them separately to prevent damage.
However, I have traveled by plane, train and automobile hundreds of times without removing my bindings and nothing has been damaged. I have actually caused more damage by removing and replacing bindings than I ever have traveling with them attached to the board.
What Personal Documents Should I Bring on a Snowboarding Trip?
Always carry personal identification, insurance information, emergency contact details and any necessary travel documents or visas.
Should I Bring Extra Equipment Parts on My Snowboarding Trip?
If you have spare binding straps, screws, base plate and boot laces/cables, then it is worth bringing them as they need replacing most frequently. Problems usually occur when you are on the mountain without your spares, but from experience, most ski shops can fix them and often do not charge a penny.
I always travel with a spare set of goggles because they are easily damaged. I also normally take spare gloves as they are the most likely thing to lose.
What Items Are Often Overlooked When Packing for a Snowboarding Trip?
I frequently forget my travel adapters when snowboarding in another country. I have also forgotten my phone charger, which can be very annoying.
But I have seen everything from goggles to gloves – two trips in a row by the same friend – and sunscreen to sunglasses forgotten. When living in Whistler, my friend forgot his snowboard one day. At the bus stop I asked if his board was being serviced, he swore and ran back to the chalet to get it.
The point is you can, and will, forget anything. And this applies both on a trip by trip basis and day to day. So you need to find systems that work to help you remember what you need.
How Do I Adjust My Packing List for a Long-Term Snowboarding Trip?
For a long-term trip, pack additional base layers, socks and off-slope clothing. I usually take two snowboards, and sometimes two sets of bindings so I am prepared for everything from park to pow.
What are Some Tips for Packing Snowboarding Gear for Air Travel?
For air travel, pack your snowboard in a padded snowboard bag. The advice is to remove the bindings, but I never do and have flown more than one hundred times without anything being damaged.
Check airline policies regarding snowboard gear. They may say you can only have one snowboard, and nothing else in the bag except the board, bindings and boots. But I have found that as long as my luggage is under the weight allowance no one checks what I have packed. So I put everything in one snowboard bag.
If you are going to be over the snowboard bag allowance, many airlines allow you to combine luggage up to 32kg. So book a board bag and other luggage, but then put everything in the snowboard bag.
Can I Rent Some Snowboarding Equipment at the Resort Instead of Packing It?
Yes, most resorts offer snowboard equipment rental. However, there is not usually a huge amount of choice, and the bindings, in particular, are often a lower quality. Renting boots can be difficult as they are never as comfortable as your own, and the same applies to a helmet.
Conclusion
I would love to say that a successful snowboarding trip hinges on meticulous planning and packing. But that is a load of rubbish. Snowboarding is about the freedom to express yourself and have fun, perfect planning doesn’t impact that.
So don’t stress too much about what to take. If you forget, lose or break something, you can replace it and will still have fun. So get out on the slopes and enjoy yourself; just try not to forget your phone or wallet!
