Choosing Your Instructor and Lesson Type
The first hurdle to cross is selecting your instructor and lesson type. There are two schools of thought here:
- Wing It: Book lessons with the local snowboard school, perhaps base it on price or proximity to your accommodation. But don’t fuss too much; your first lesson(s) will be reasonablystandard.
- Research It: Read reviews. Or follow personal recommendations to find a school, or individual instructor, that suits you.
Finding a Qualified Snowboarding Instructor
Think of your snowboarding instructor as your Yoda. They will guide you, teach you the ways of the snowboarding force, and make sure you don’t fall flatter than Jar Jar Binks (both literally and figuratively).
Consider the following to help find your snowboarding Jedi master:
- Certification: Look for an instructor certified by a recognized organization, such as the American Association of Snowboard Instructors.
- Experience: Ask about their experience, especially with beginners. The longer they’ve been teaching, the better they’ll handle different situations. Look for a full time snowboard instructor rather than a skiing instructor who sometimes teaches snowboarding.
- Personality: At the very least a good instructor should be patient, encouraging, and communicative. They should make you feel comfortable while pushing you to improve. It helps if they are fun, friendly and fantastic at snowboarding.
- Reviews: Check reviews or ask for recommendations. Feedback from past students helps you know what to expect.
- Size of Group: The fewer people you are learning with, the more attention you will receive, and so the quicker you will learn.
- Where They Meet: Many schools have set meeting points. This could be at the bottom of your local lift or maybe an inconvenient location somewhere else on the mountain.
Group Lesson Vs. Private Lesson: Pros and Cons
Most of us learned perfectly well in group classes at school. But Luke Skywalker became a Jedi very quickly after having Yoda instruct him one to one. Snowboarding lessons have similar pros and cons to Jedi training:
Group Lessons
Group lessons with like-minded padawans can be a lot of fun. They’re a great way to meet new people, and there’s a camaraderie of learning together.
Group Pros
- Cost-effective: Group lessons are best if you’re budget-conscious.
- Social: Learning with others makes the experience more enjoyable and provides the opportunity to make friends with other new snowboarders.
- Shared Learning: You’ll learn from other’s mistakes and successes, not just your own. Plus, a bit of friendly competition never hurts!
- Longer: Group lessons are usually longer than private tuition.
Group Cons
- Pace: In a group lesson, you’ll learn at the speed of the slowest learner. If faster, you may feel held back or rushed if you’re the slowest.
- Less Attention: The instructor’s attention will be divided among the group, so you won’t get much hands-on instruction.
Private Lessons
Private lessons are all about you. Your tuition will be hands-on and tailored to your progression.
Private Pros
- Personalized Feedback: It’s all about you! The instructor provides direct, immediate feedback. This will accelerate your learning progress.
- Flexible Pace: The lesson moves at your pace. If you grasp a concept, you move on. If you’re struggling, you’ll spend more time nailing it.
- Hands On: If required an instructor can literally hold your hands to help you learn.
- Customized Approach: The instructor will tailor the approach to your needs, goals and learning style.
Private Cons
- Cost: Private lessons are a lot more expensive than group lessons.
- Less Social: You’ll miss out on the social aspect that comes from learning as a group.
- Shorter: You can pay for as long as you want. But private lessons are normally sold in two hour slots, which cost more than a full day group lesson.
Before the Lesson: Preparations at Home
There is a surprising amount you can do before you get on the snow to help you get the most from your lesson.
Physical Conditioning and Exercise
Snowboarding is a full-body workout, so good fitness makes a world of difference.
- Cardio: Run, cycle, swim and do what you can to get fitter and you’ll find snowboarding easier.
- Strength: Incorporate snowboard specific exercises to strengthen your legs and core such as squats, lunges, planks and sit ups.
- Upperbody: As a beginner, you’ll be pushing yourself up off the floor frequently. Doing press ups and dips will help make your upper body stronger.
- Balance: Snowboarding is all about balance. So spend time standing on one leg, bob up and down in single leg squats and do some standing yoga poses.
Learn the Lingo
Before you hit the slopes, it’s worth taking the time to learn some basic snowboarding terms:
- Nose: The front of the snowboard.
- Tail: The rear of the snowboard.
- Edge: The sides of a snowboard, which you use to make turns.
- Heelside: The side of the board your heels are on.
- Toeside: The opposite side with your toes.
- Regular: Snowboarding with your left foot in front.
- Goofy: Riding with your right foot in front.
- Front Foot: The foot you naturally lead with.
- Switch: Riding with your non-dominant foot forward.
- Bindings: The devices that secure your boots to the snowboard.
- Highback: The bit of the binding that points up in the air.
- Stomp Pad: A pad between the bindings to provide traction when riding one footed.
- Piste/Groomers: Slopes that have been prepared by a machine to snowboard on.
- Fall Line: The most direct path down the slope.
- Traverse: Moving sideways or diagonally across a slope rather than straight down.
Understand the Basics of Snowboarding
Watch some beginner instructional videos. Now don’t worry about the specifics, that is what you pay an instructor for, but watching will help you understand what to expect during your first lesson.
Setting Personal Goals for the Lesson
Personal goals can be a great way to push yourself. However, for your first lesson, go into it open minded. You might take to snowboarding naturally, or you could struggle. In either case, a personal goal could hold you back if doing well, or be demotivational if you struggle.
Regular or Goofy?
It will save time if you determine whether you are goofy regular before the lesson. Typically your stronger foot is at the rear, and is often your ball kicking foot. Your front foot is usually the same as skateboarding, surfing, starting a sprint or climbing stairs.
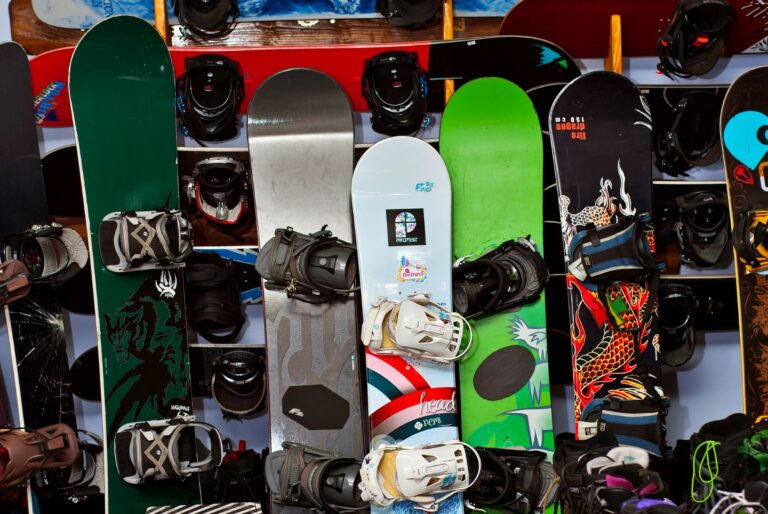
Picking the Right Gear
As a beginner, you’ll probably be renting or borrowing board, boots, bindings and maybe clothing. In which case tell the store, and they will give you the appropriate equipment. If you are buying, which we don’t recommend before you have tried the sport, then read the gear section of this beginner snowboarding guide.
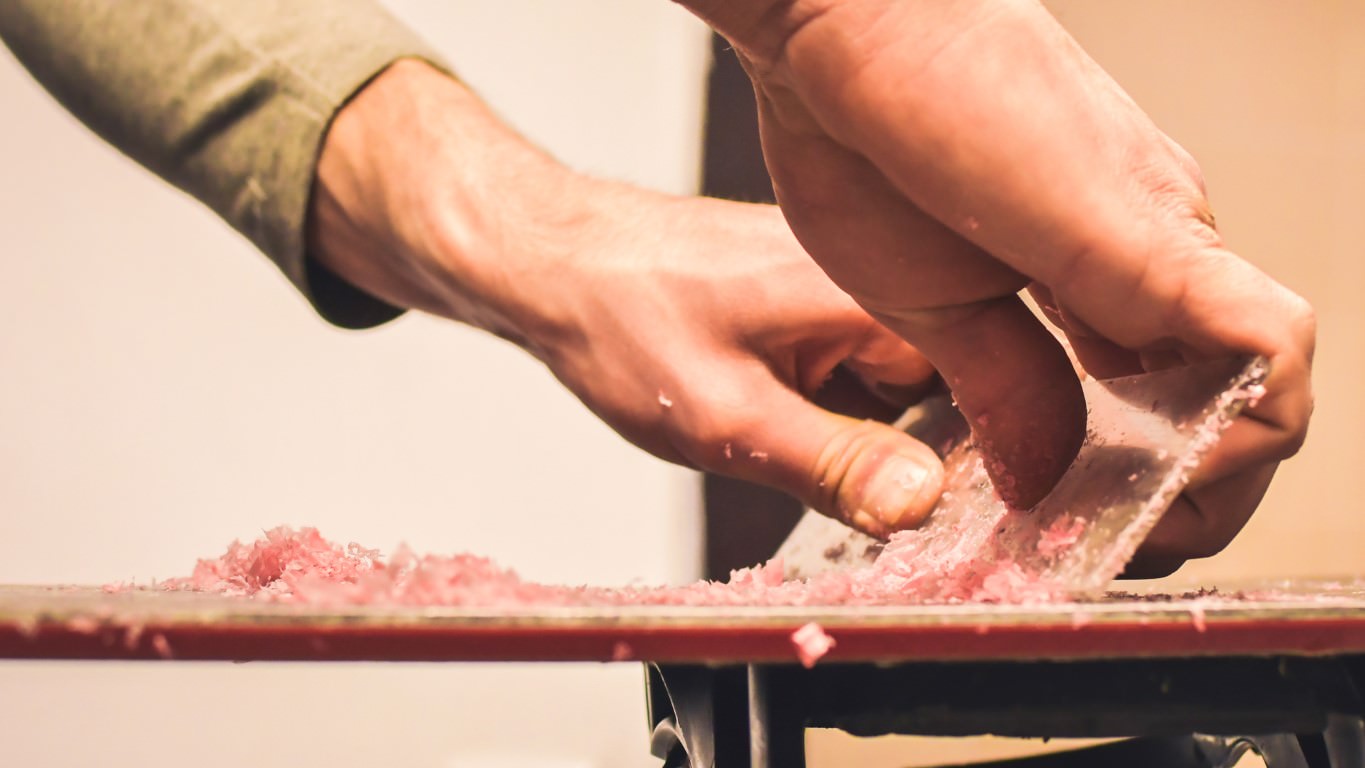
Correct Gear Set Up
Setting your bindings up correctly is beyond the scope of this article. However, you should check the following as rental gear is often not set up perfectly:
- Right Size: Ensure your bindings match your boot size. If they’re too big, you won’t have control. Too small and you’ll struggle to strap in.
- Stance Width: The distance between your feet should be roughly shoulder-width. Too narrow is less stable. Too wide makes it hard to turn.
- Stance Direction: Check the bindings are set up “Regular” or “Goofy” (this is irrelevant if on a true twin board).
- Binding Angles: Most beginners set up with a “duck stance” which means both feet point outwards at between 9 and 18 degrees.
- Binding Position: Put your boots in the bindings and check the heel and toes are central.
- Strap Positions: Ensure the straps are centered over your boots when done up to evenly distribute pressure. They should be easy to do up tight enough so your foot does not move.
- Test and Adjust: Strap in, put your boots on and check how it feels. It should be comfortable and feel locked without pressure points.
The Day of Your Lesson
Finally, the day of your first lesson arrives. “Snowboard first time today you will.” (Thanks Yoda!)
What to Eat and Drink: Nutrition Tips
You wouldn’t run a marathon without fueling up, right? The same goes for snowboarding. Have a good breakfast, hydrate and pack a high energy protein-rich snack just in case. Trust me, your body will thank you.
Packing Your Bag for the Day
Packing for your first snowboarding lesson is tricky and depends on whether you are staying in resort or traveling up for the day. On the one hand, you want to be prepared for all eventualities. On the other hand, you ideally don’t want a heavy rucksack on your back while learning to snowboard.
In my opinion, it is better to learn without a backpack as it can unbalance you and hurt when you land on it. So I’d recommend putting essentials – a small bottle of water, snack, wallet, phone and small sunblock – in your pockets.
If you have a backpack, then an extra layer, goggles for different conditions, sunnies, beanie and lunch could be thrown in. Hopefully, there will be somewhere near the lesson to store your gear.
Arrival Time: When to Get to the Slope
Nobody likes a latecomer, especially your snowboarding instructor! They will take the time off your lesson if it’s private or leave without you if part of a group.
From experience, it always takes longer to put on your snowboarding gear than you expect. Getting around a ski area can be slow, and meeting points are not always obvious. So allow extra time to reach the meeting point.
Allow at least 15 minutes more than you expect and aim to get there a quarter of an hour before the lesson. You’ll probably be ridiculously early, but it gives you time to familiarize yourself with the area and do some pre-lesson prep.
Pre-Lesson Prep
A huge advantage of arriving early is you can ensure you are fully prepared. I’d recommend the following in order or priority:
- Boots: Ensure your boots are done up tightly. They will probably have loosened (or bedded in) if you’ve walked around to get to the meeting point.
- Stretch/Warm Up: Do some stretching. Your legs, core, shoulders and back are worth loosening. Do some low intensity squats to warm up your legs, and circle your arms to get blood pumping around your upper body.
- Strap In: Find a flat spot and strap on your board. Practicing this will make it easier on the slopes. Get in the snowboarding position, try to balance on your front and rear foot and distribute weight onto the toe and heel edges.
During the Lesson
It’s time to hit the slopes. “Truth of moment it be”.
Learning to Listen and Observe
Eyes and ears open, mouth shut. Listen to your instructor, watch their demonstrations and soak it in. This will fast track your progression. Also, watch the other students. Seeing what they get right or wrong will help you.
Ask Questions: Engaging with Your Instructor
If you’re unsure about something, ask. No question is stupid, but not asking is.
Reflections: Evaluating Your First Lesson
Ask your instructor for feedback. What did you do well? What can you improve on? If asked they will tell you what to work on before the next lesson.
After the Lesson
Well done, you are one lesson down. “Survived first lesson you have”, as Yoda would say.
Rest and Recover: Taking Care of Your Body
After a lesson, your body needs some TLC. Stretch, stay hydrated, and get good sleep. Heading straight to the bar and celebrating until the small hours is not recommended – but far from unheard of.
Planning Your Next Steps: Practice & Lessons
What next? Well, the best thing is to practice what you have learned. Many people only have lessons for a few hours, so it gives plenty of time to practice afterwards. If you are too tired, practice the next day.
If snowboarding has clicked, then you might not need another lesson – yet. Save that for when you need it. But if you’re struggling with the basics, book another lesson, as it can take a while to feel comfortable with the snowboarding basics.
Conclusion
And there you have it – all you need to know about your first snowboarding lesson. So get out there, get riding and get falling – if you don’t fall, you are not trying hard enough. May the snowboarding Force be with you.